Shirring is one of those things that looks so professional that it’s a bit intimidating but actually it’s quite easy. I put it off for a while because I don’t love sewing with elastic – my swimwear makes have not been great and I think that’s put me off shirring too. I tried it out for the first time when I made a crepe dress using the By Hand London Hannah sleeves and just shirred a few lines on the cuff, and I was SOLD.
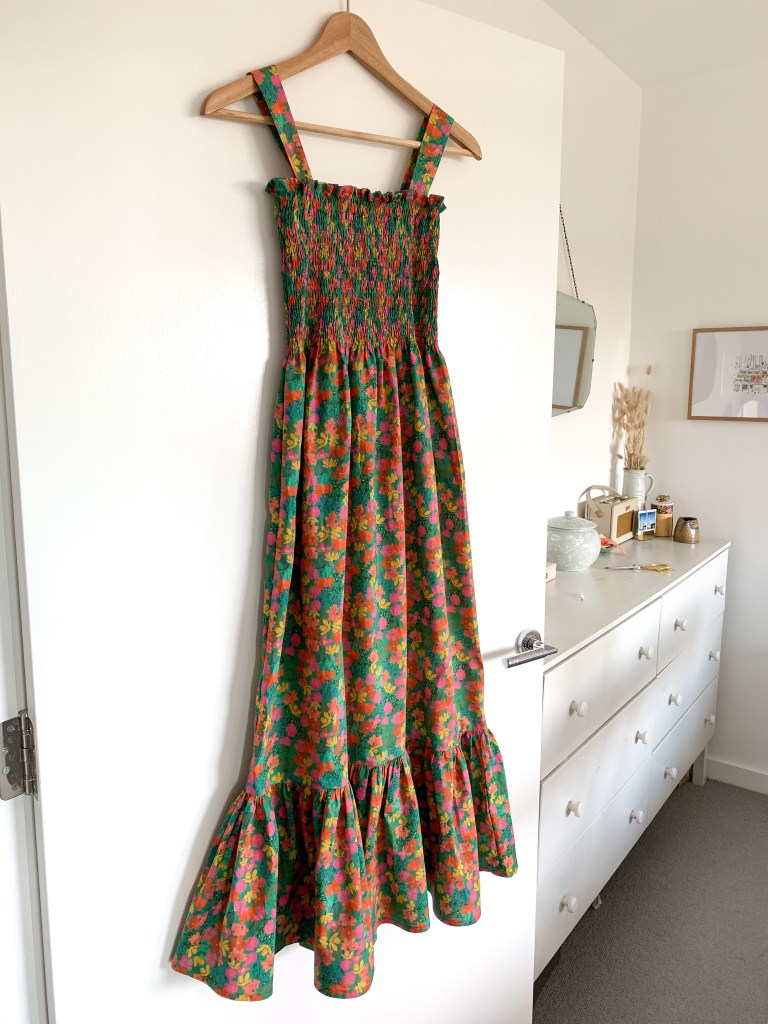
There’s not much to say about this dress ‘pattern’ it’s essentially a rectangle which I cut based on my bust measurement x1.5 width, I measured the length I wanted which was about 90cm without the ruffle. The ruffled piece was 1.5 x the width of the main dress piece, gathered to fit. If you’re after more detail on that, I would recommend the By Hand London shirred dress tutorial.

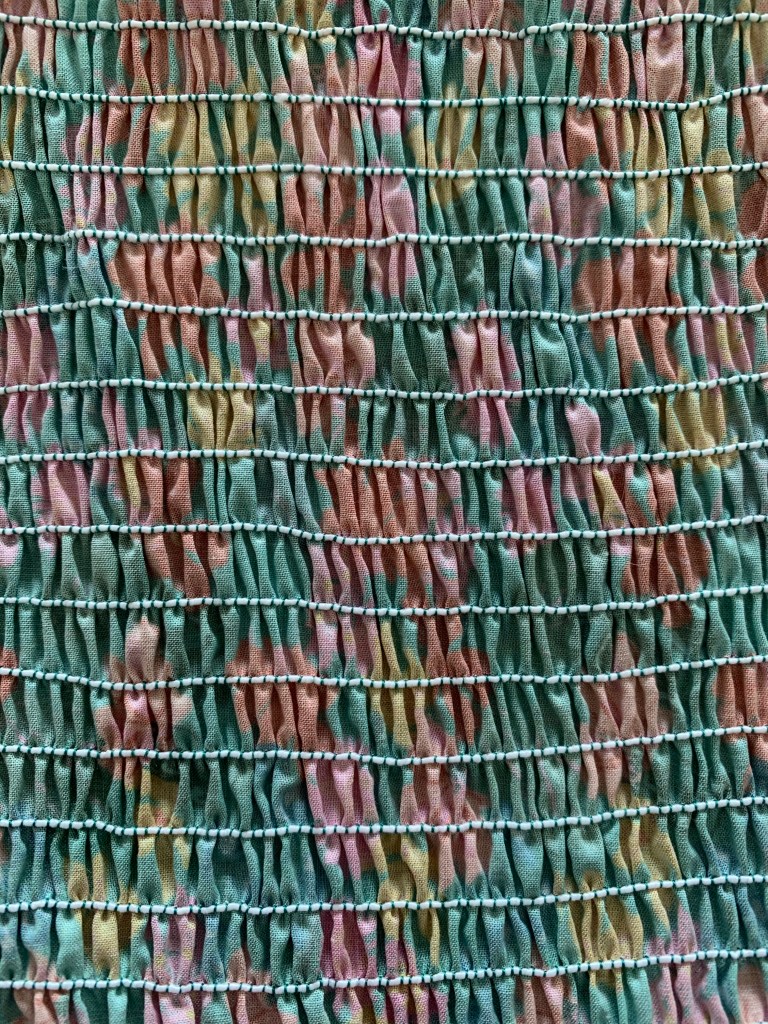
The beautiful cotton fabric was from Sister Mintaka and it’s rare that I find green fabrics that I love this much – I bought it instantly and wish I’d got more actually. I do have enough left, maybe for some PJ shorts.

For the straps, I fully intended to add big pouffy sleeves which I was going to attach to the straps. I’ve seen versions with elastic at the shoulder like the excellent tutorial from By Hand London, but I wanted the option of wearing a bra (although actually don’t need one at all with the shirring), and I also wanted the sleeves to have a bit more stability.
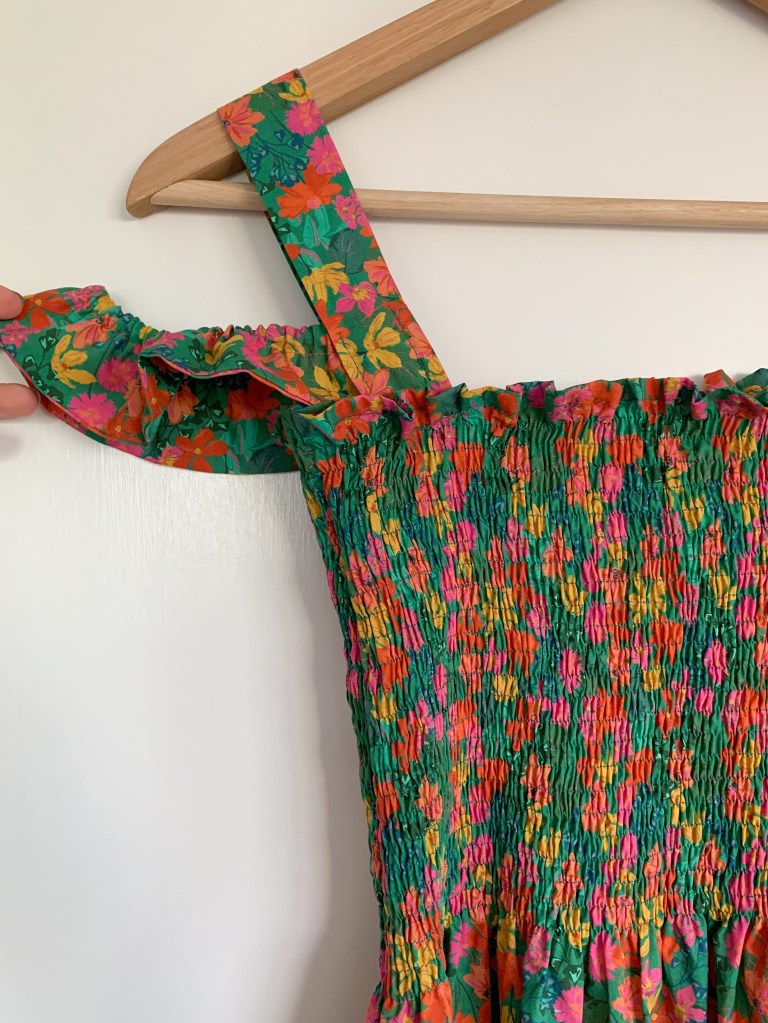
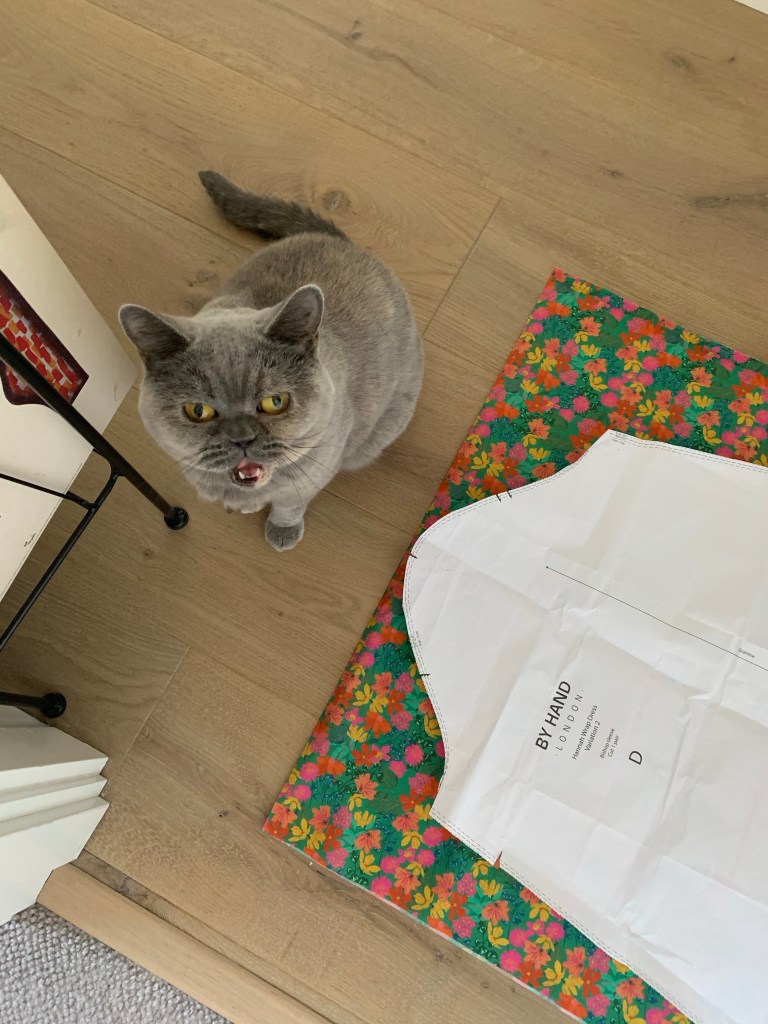
I ended up not opting for sleeves. I think Betty was even telling me here that it wasn’t my best idea. I went for some side straps which I made by essentially making another strap and then sewing a 1cm channel to add elastic through. I then attached this to the main straps. As it was an afterthought the stitching is visible – I could have unpicked the sides of the vertical strap but I didn’t, though that’s how I would attach it next time. I actually love this more than sleeves as I think it mimics the frill at the neckline and the ruffle.

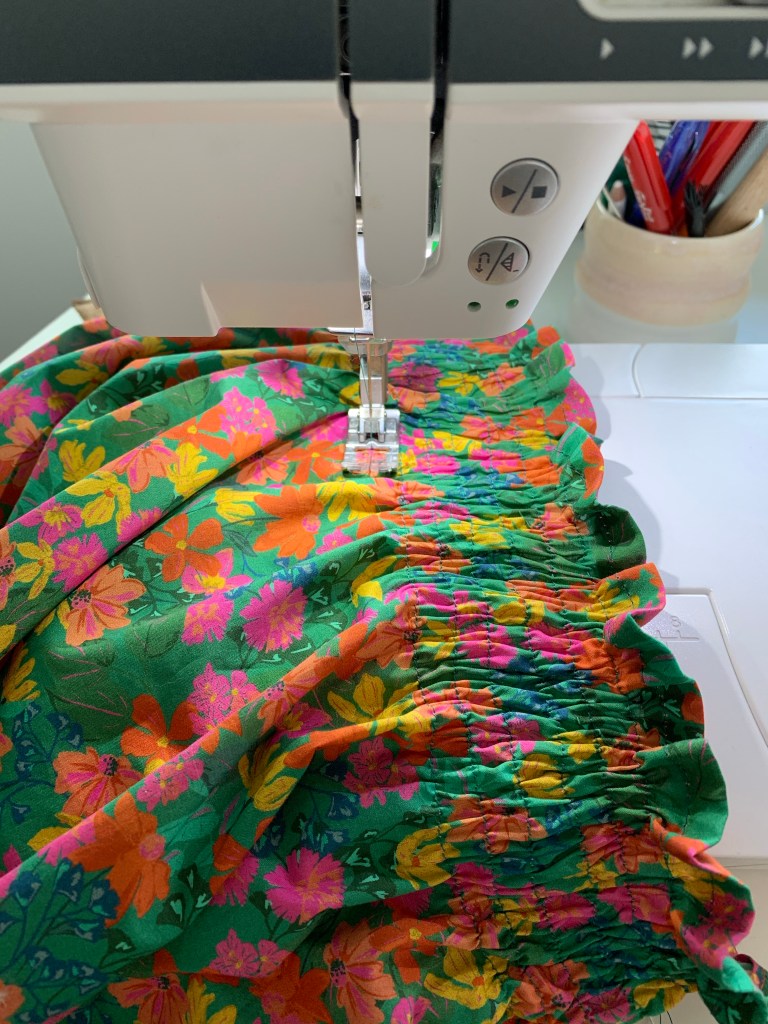
So essentially I hemmed the top, did 23 lines of shirring, overlocked seams and sewed the dress together – and that’s how easy the dress was. I decided to put the seam at the side rather than the back just to hide the seam under the arm and leave the back seamless. I then added the straps, attached the gather at the hem and voila.


I got a lot of questions about shirring on Instagram so here are some top tips, some of which I’ve shared before in previous posts but as 2020 is the year of the shirr I think it’s worth revisiting.
1. Hand wind your elastic to the bobbin – I’ve read mixed things about whether it should be stretched or not. I don’t stretch it and it’s worked for me but the key thing is to do a few test rows on a scrap of the same fabric
2. Stitch length and tension – I set my stitch length to 3.5 – you probably want somewhere between 3-4. The longer the stitch the more fabric it will gather between stitches. For this make I had to increase the tension and I’m not sure on the science of that but I found it out after testing a few lines since the elastic was moving around a bit under the stitches so I assumed it wasn’t holding it down tight enough
3. Make sure you have enough elastic in the bobbin before each row – you don’t want to run out half way through a row. I like to save leftover bobbins with shorter bits of elastic on for sleeve cuffs. If you do run out half way through a line, you can replace the bobbin and start stitching again where you left off then knot the two pieces of elastic together
4. Smooth the fabric out – make sure the fabric is flat when you sew your lines to get the shirred effect – you need to smooth out the fabric as you sew and avoid puckers
5. Straight lines – it sounds obvious but sometimes it’s actually hard to keep in a straight line because you’re concentrating on smoothing the fabric straight as you stitch – I’ve found that the best way is to line up the presser foot with the previous line of stitching then I have a guide to follow
6. Fit it or measure – the length of your shirred panel can make the difference between a babydoll style or a hip skimming waistline so I like to keep fitting it on or before you start you can measure the length you want the shirred panel to be – for mine I was aiming for the shirring to finish at the waist like a traditional bodice – I did 23 lines of shirring which was about 8 inches deep
I think now I’ve learnt how easy shirring is, the problem is going to be stopping! Do you have any other top tips for shirring?


I love this so much!
I recently purchased a dress that only had shoulder straps and I wanted something with a little more coverage and this is perfect!
Hi, is the ruffle 1.5 x the width of the finished dress or the whole width before folded together and sewn?
1.5 x the full length. Both the ruffle and the dress are just in one piece and the ruffle is 50% longer so if your dress is 100cm for example, ruffle should be 150.