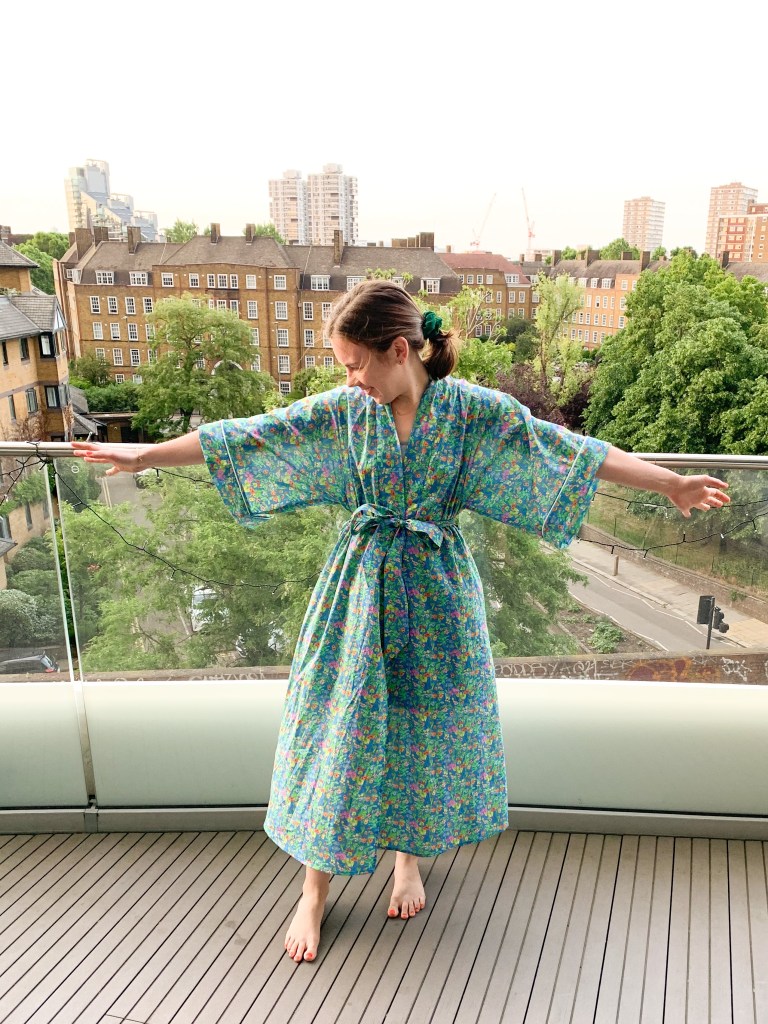
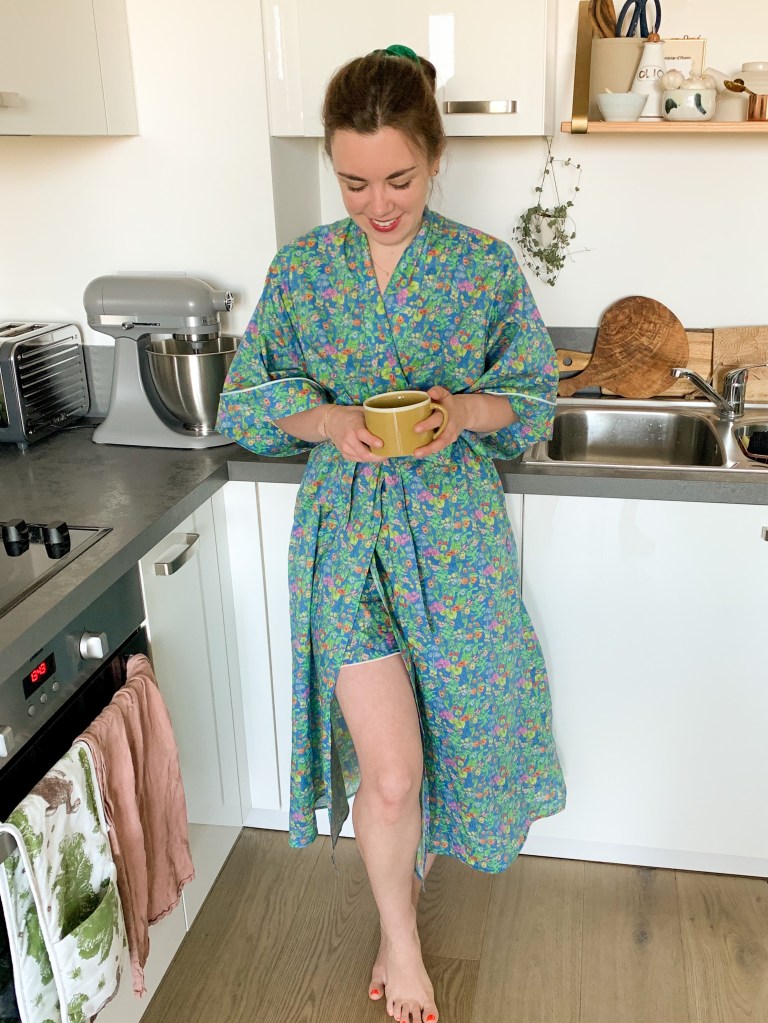
I’ve always wanted a Liberty robe. I made a couple of PJs bottoms early on in my sewing and I wear them to death – I’ve had to mend the crotch about 100 times. When the fabric arrived though I just wanted to make a dress which is what usually happens, and why I have ended up with 30 Flora dresses. But I fought against my instincts as I knew I wanted to end up with some sumptuous loungewear that I could wear for years to come.
I was tempted by the Carolyn Pyjamas by Closet Case Patterns, I even cut all the pattern pieces out ready to cut into my fabric the next day, but I’ve also always wanted to make the Suki robe by Helen’s Closet and so that pattern ended up winning out.

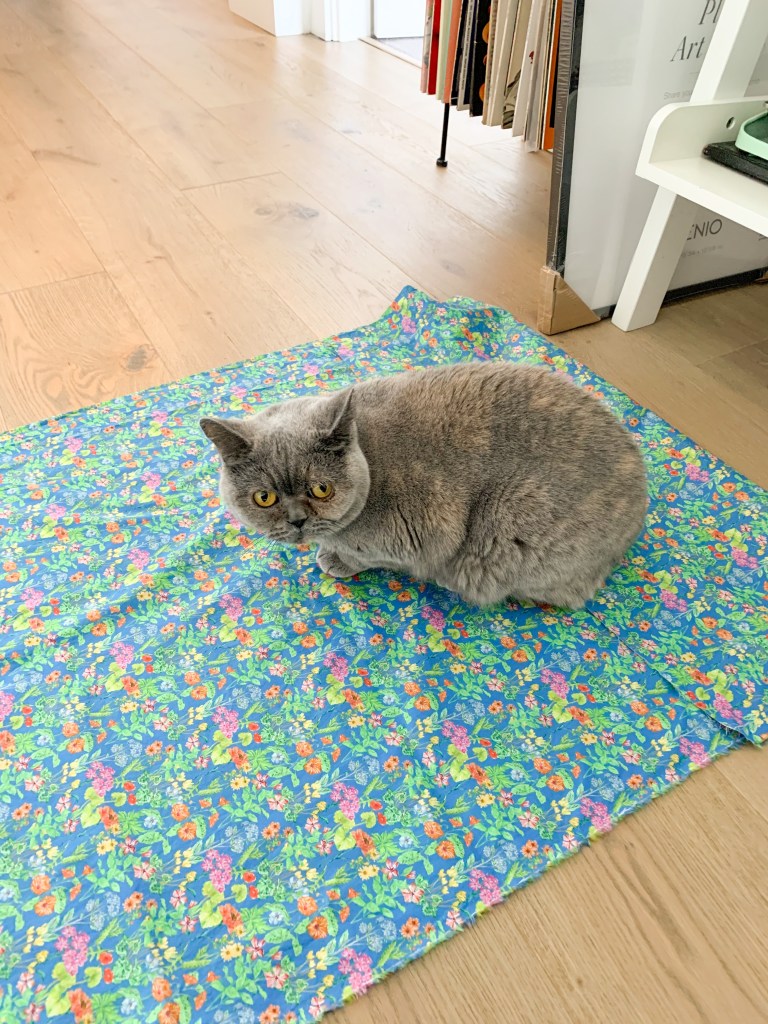
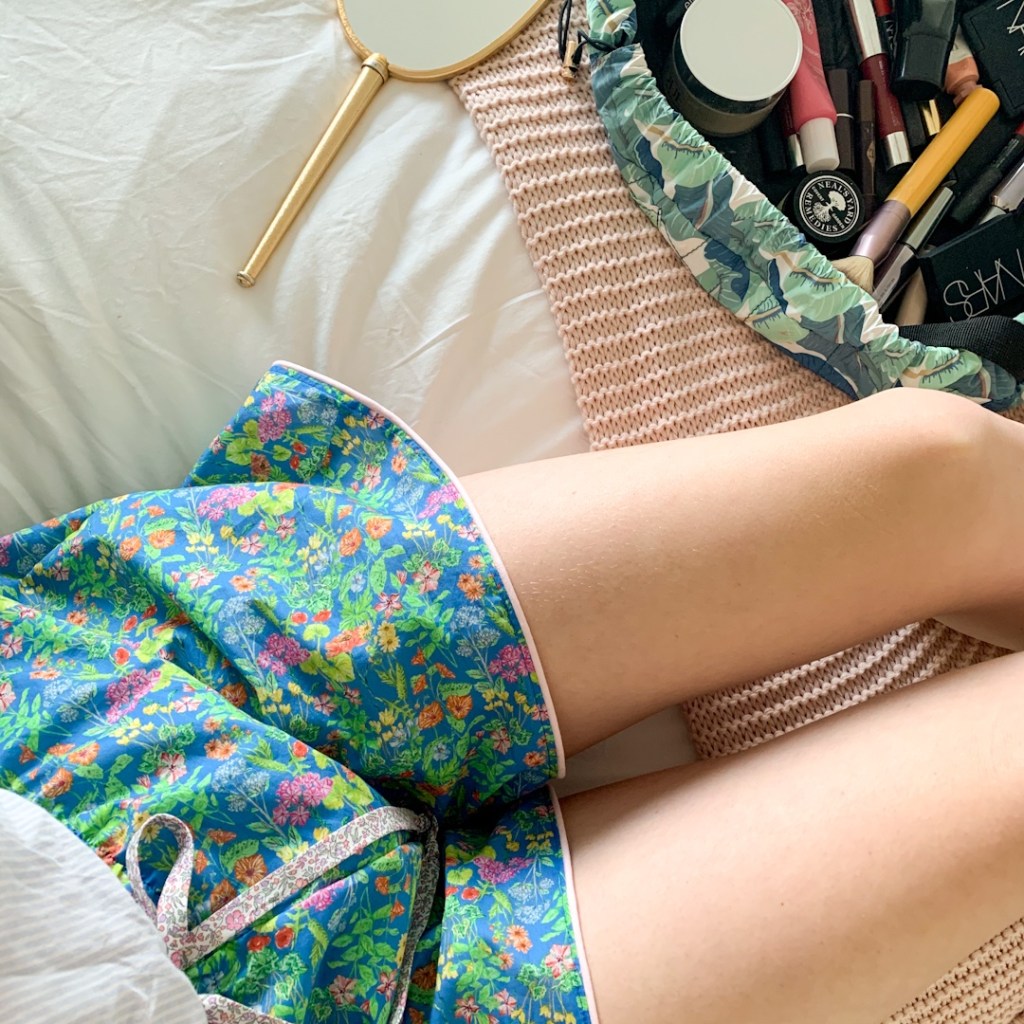
I had 3 metres of Liberty lawn which I’d got in their recent online sale. The pattern calls for 2.5-3 and I made a UK size 8, but I ended up having around 0.75m leftover which I used to make the Pipit Loungewear shorts by Common Stitch. I only managed to do this by cutting the pattern direction of the back of the robe upside down. I thought about it for a while and decided it wouldn’t be that noticeable or bother me and I’m glad I did because now I have the shorts too!

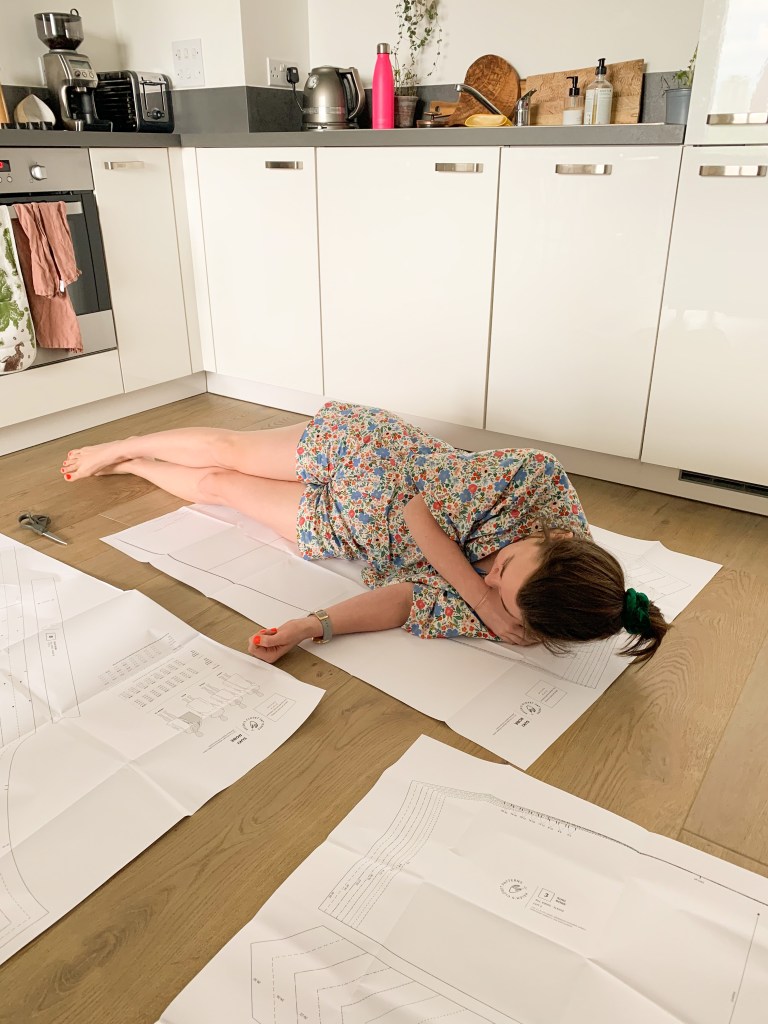
One bit I found quite strange on the pattern is where you have to cut and stick the bottom of the robe even on A0, obviously even that size paper isn’t big enough for the longer length. I couldn’t really be bothered to do this and my boyfriend took a photo of my method which was to lie on the pattern piece and guesstimate how much longer I should cut the fabric.
The other change I made was I sewed together the waist tie pieces in one and left it hanging on the loops rather than attaching it to the gown.

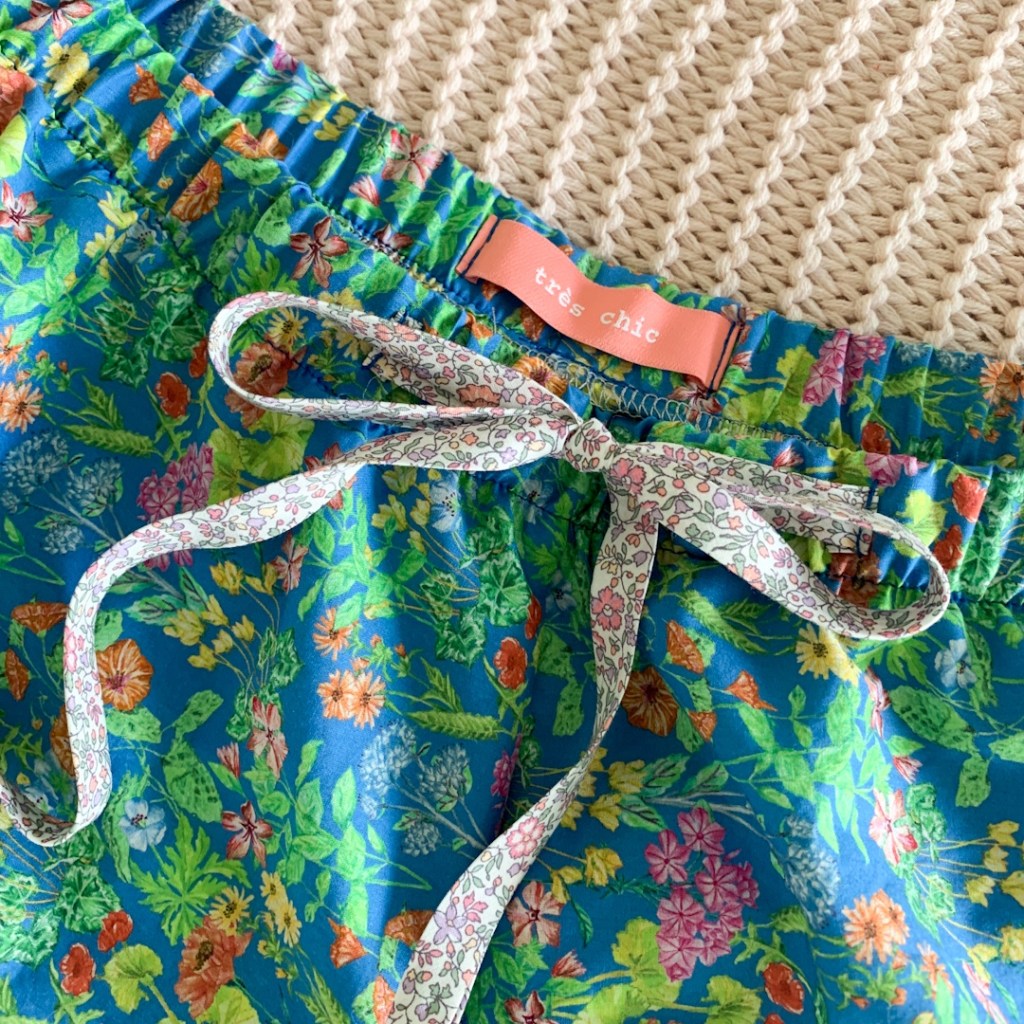
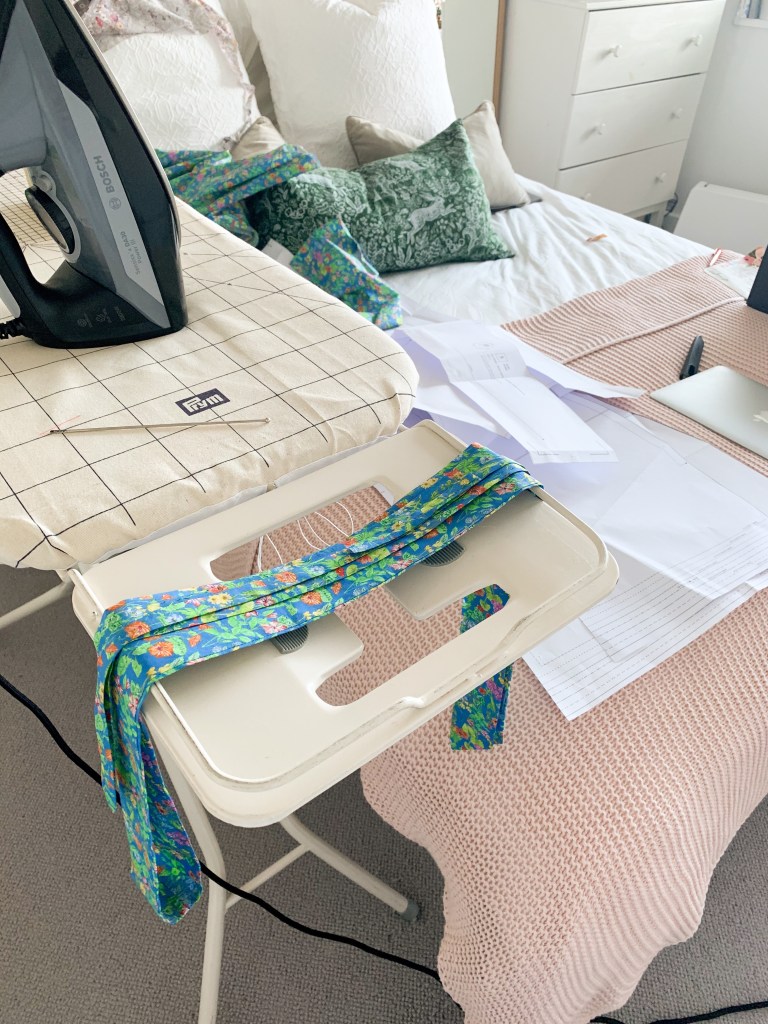
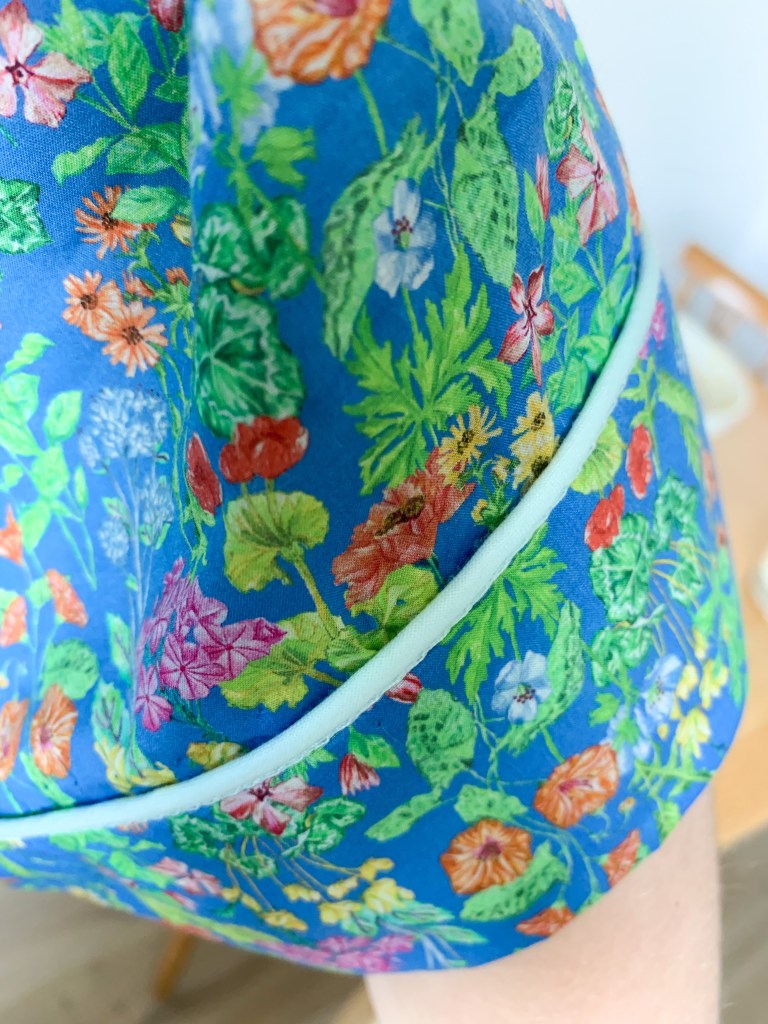
I made the Pipit Pj shorts first – I absolutely love this pattern, it’s such a satisfying quick thing to make it’s like a sewing palate cleanser. I added some piping which I’ve never done before and probably didn’t do in the optimal way, but I love how cute they turned out and I haven’t stopped wearing them since.
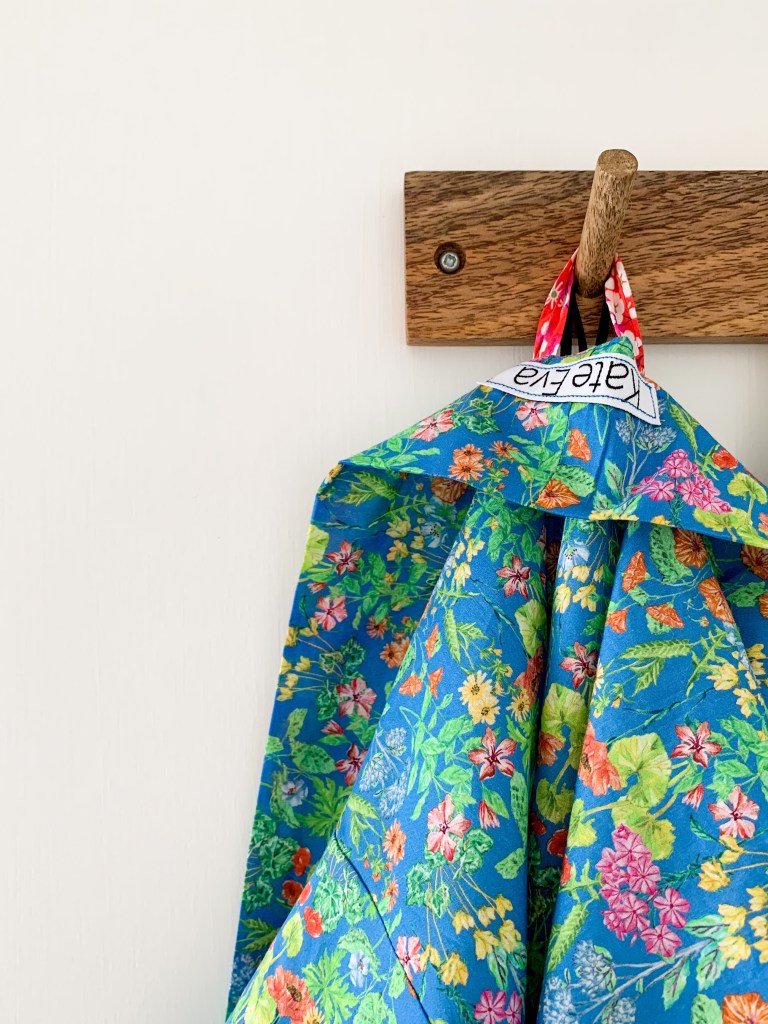
The cute ‘très chic’ label was sent to me as a gift from Modista Sewing, I love the colour combo so much.
For the robe, it was a fairly straightforward sew and I like the instructions – they’re definitely more beginner friendly than others I’ve seen and I like that there are options finish based on whether you are a beginner or advanced. There are also tips on organising the many similar looking pieces which for an organised person was very pure joy.
The most time consuming bit was getting the front facing right – it has this right angle that ends at the waist. I actually didn’t realise this when cutting out my pieces and I would have cut it all the way down to the bottom as I had planned to add piping. I thought with it ending half way piping might look strange so I left that off. If I made it again I would 100% cut it all the way down to the hem. It’s a nice finish but I don’t think it was worth the several attempts and unpicking for me!

I did french seams on the shoulders and sleeve and then I just sewed and overlocked all in one down the sides including pockets. The pattern said to finish all the seams as you go but I skipped this and decided to just finish them in one at the end, the only exception being the pocket where it meets the side seams.

I added piping to the sleeves just by sewing it to the right side of the cuff before attaching it to the gown. I then hand sewed the inside as i couldn’t figure out where to invisibly stitch it together. I think I need a piping lesson!
I also did the stitching in the ditch for the neck band but either I’m awful at it or there’s a special foot I don’t know about – please tell me if it’s the latter!
I just love it so much and I can see myself wearing it all the time. I want to make them as gifts as well although I’d definitely make some changes so the sewing is more straightforward like lengthening the front band and cutting the waist ties in one piece. What a perfect sew for lockdown, and I won’t mind accepting a delivery in these PJs.


What a gorgeous robe!! It must feel so luxurious. There is definitely a stitch in the ditch foot! Quilters use them! Genius invention…
Beautiful Kate, such a lovely print. There is a special foot that is called a stitch in ditch foot or an edge foot, I use my edge foot to help with getting top stitching accurate and I have used it to stitch in ditch as well.😊
Thank you! Every time I’m bad at something in sewing I think ‘there must be a tool for this’ and there always is! Thanks for the info ☺️
It’s beautiful Kate! I want one too!!!!
Looks gorgeous! What’s the name of the print?
Thank you! The print is called ‘Poet’s meadow’
Fabulous! You are so clever. We used to draw around my sister to make ‘patterns’ when she was a teenager keen to make something in a day! I love the little red hanging loop – rather fun to have it in an alternative colour. Nice job!