As a huge fan of By Hand London and proud owner of 25+ Flora dresses and at least 8 Anna dresses, it may surprise you to know that I’ve only ever made one Kim dress. I love the square neckline but honestly on my first one I didn’t get the fit quite right and I haven’t revisited it since.

So this time I started afresh and I made a size 8 but cut the princess seams along the size 6. This is a bit of a lazy small bust adjustment but it works for me with any sleeveless By Hand London patterns. I also added 1cm to the neckline all the way around (straps included). The fabric I used for this dress was a gift from Rainbow Fabrics with no obligation to post, it’s a lovely drapey viscose.
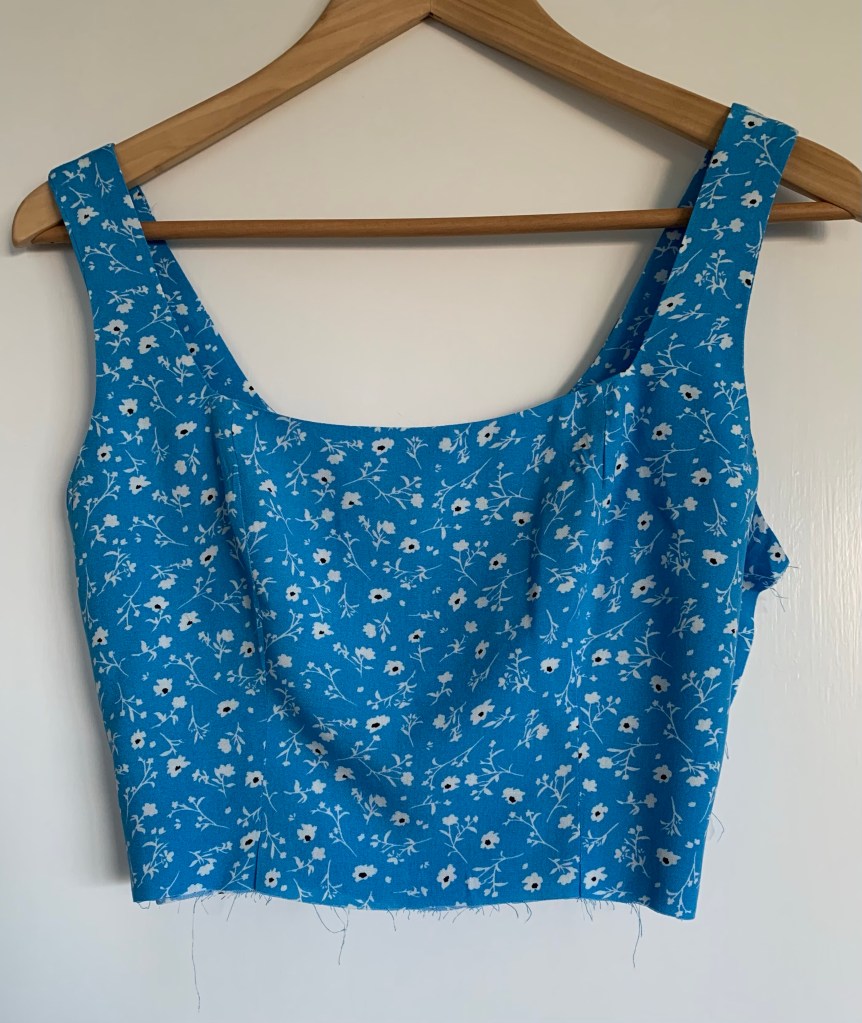
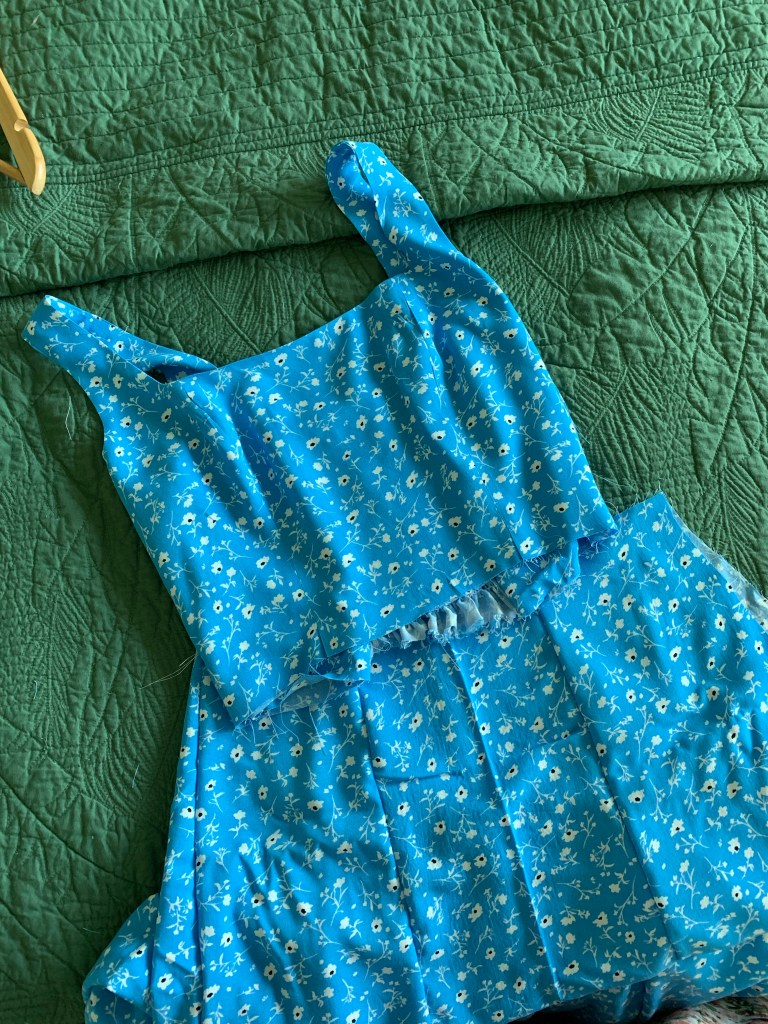
For this dress I envisaged it with a shirred back and the skirt from the By Hand London Anna. It has a bit of a Rachel-from-Friends vibe I think and it’s a style I remember my mum wearing a lot when I was young.

So to cut out, I cut all my regular pieces except the back bodice pieces. Instead of the back bodice I was using a panel of shirring. My shirring panel was 1.5x the measurement of the back bodice pieces and I added 1cm to the top so I could hem the top edge. My piece measured 25cm by 22cm but it would be different depending on the size you are making.
The other change I made when cutting was to cut the skirt centre back pieces as one piece on the fold. This is because I was adding a side zip instead of a back zip (as the back panel was going to be shirred).

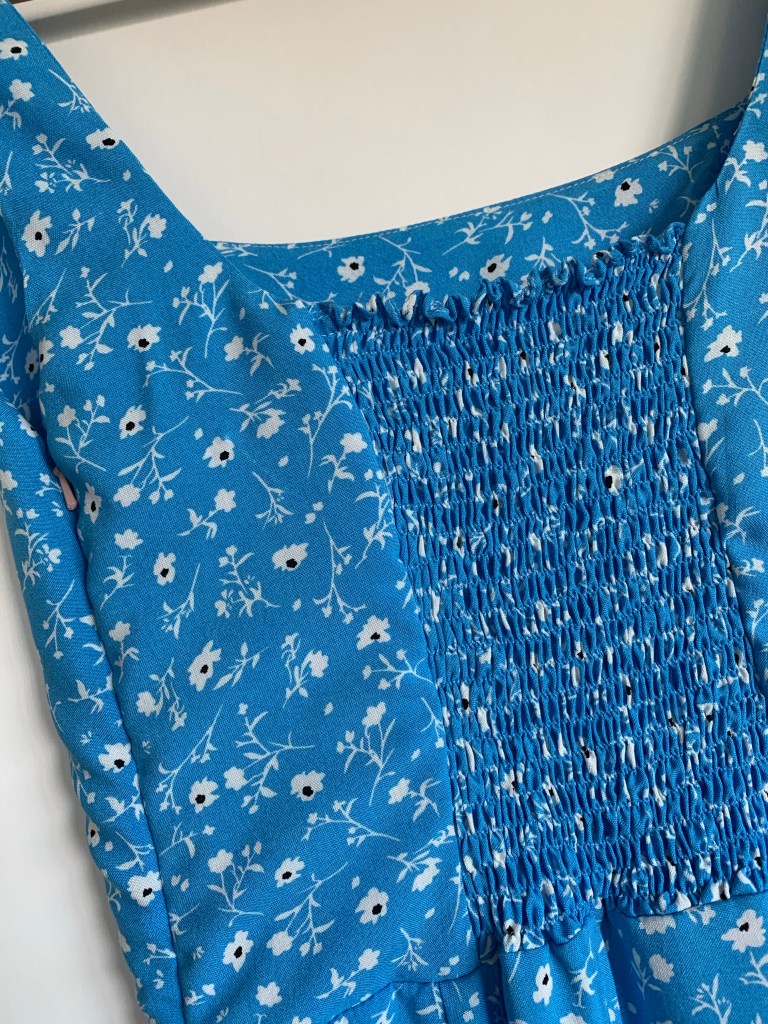
I started with the shirred panel first, finishing the top seam with a rolled hem foot (or you could just fold it over twice and hem). I then sewed lines of shirring until about 1inch from the bottom. For the shirring, there are lots of good tutorials out there so I will keep it brief, but I set my stitch length to 3.5, tension on 4 and wound the bobbin by hand. Another tip that really speeds it up is every row you shirr just turn around at the end and sew the next line without cutting the threads. I found this worked well both to speed it up and also waste less thread.
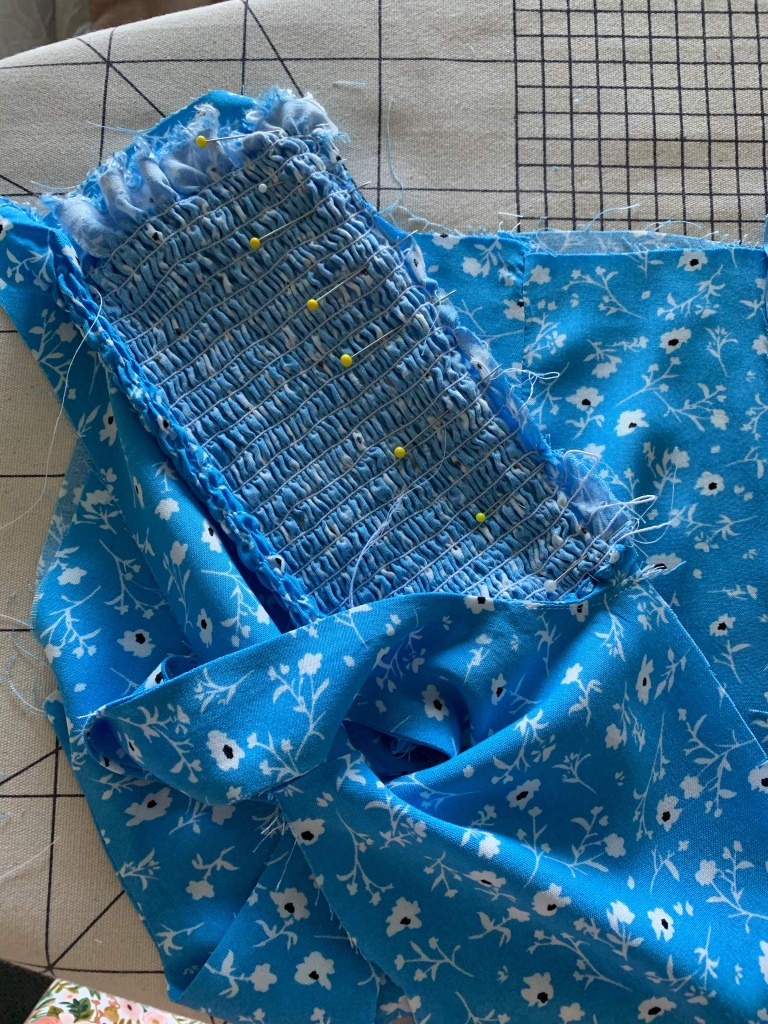
I sewed up the bodice according to the instructions until it came to sewing up the side seams. At this stage, my bodice had no back pieces and I was attaching the shirring instead. To do that, I sandwiched the shirred piece of fabric facing in, right sides together with my bodice. I then placed the lining right side to wrong side of the shirring so it was sandwiched in between. I then sewed up 1.5cm from the edge and I repeated this on the other side of the bodice until the back piece was complete.
Below you can see that I’ve pinned the right sides of the bodice and shirring together. You can baste it at this stage and then fold the lining piece over the top so it’s right sides together with the wrong side of the shirring. The top hem of the shirring should meet the seam where your lining meets your outer bodice and be sandwiched between them.
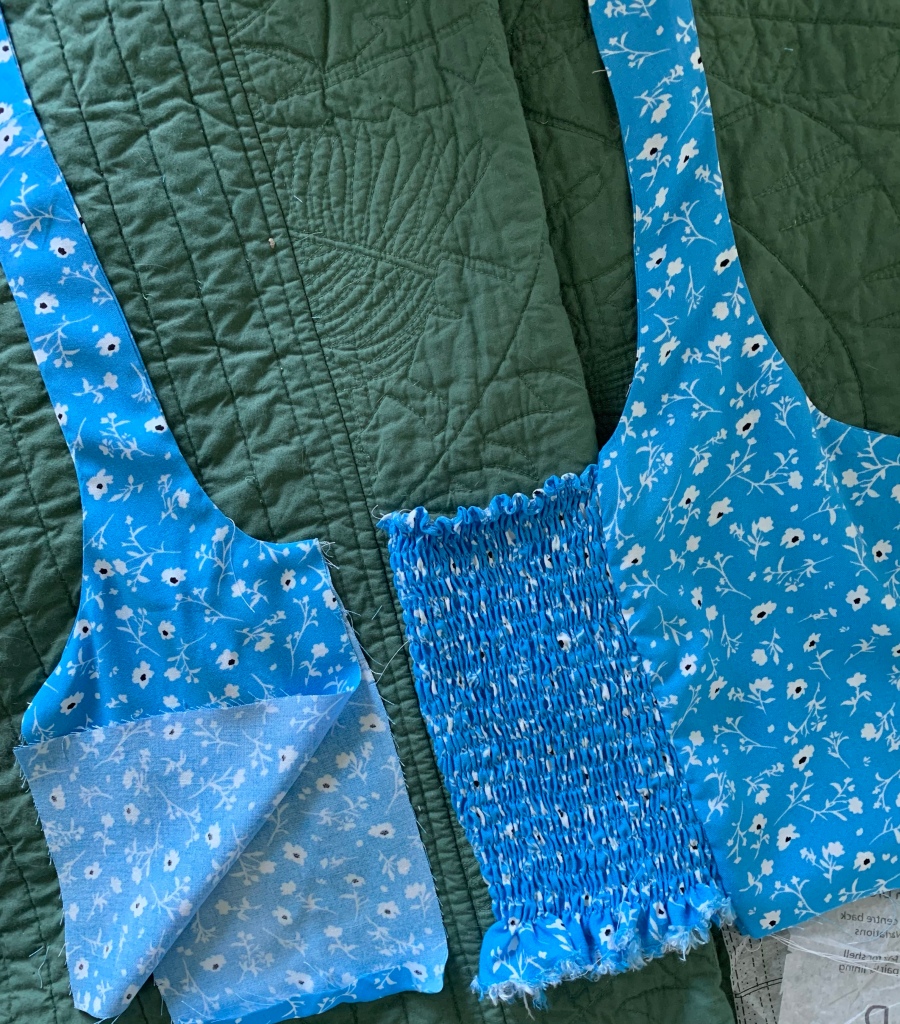
After sewing both sides of the shirring to the bodice, I then sewed up one side seam of the bodice keeping the other one open for the zip.

As for the skirt, I didn’t make any adjustments. I find the Kim and Anna patterns fit pretty perfectly without adjustments. When it came to attaching the shirred panel to the skirt, I sewed below the line of shirring so the fabric on the shirred panel gathered slightly but the skirt panel didn’t, so then when it’s worn the skirt will sit flat and the shirring will be able to stretch.
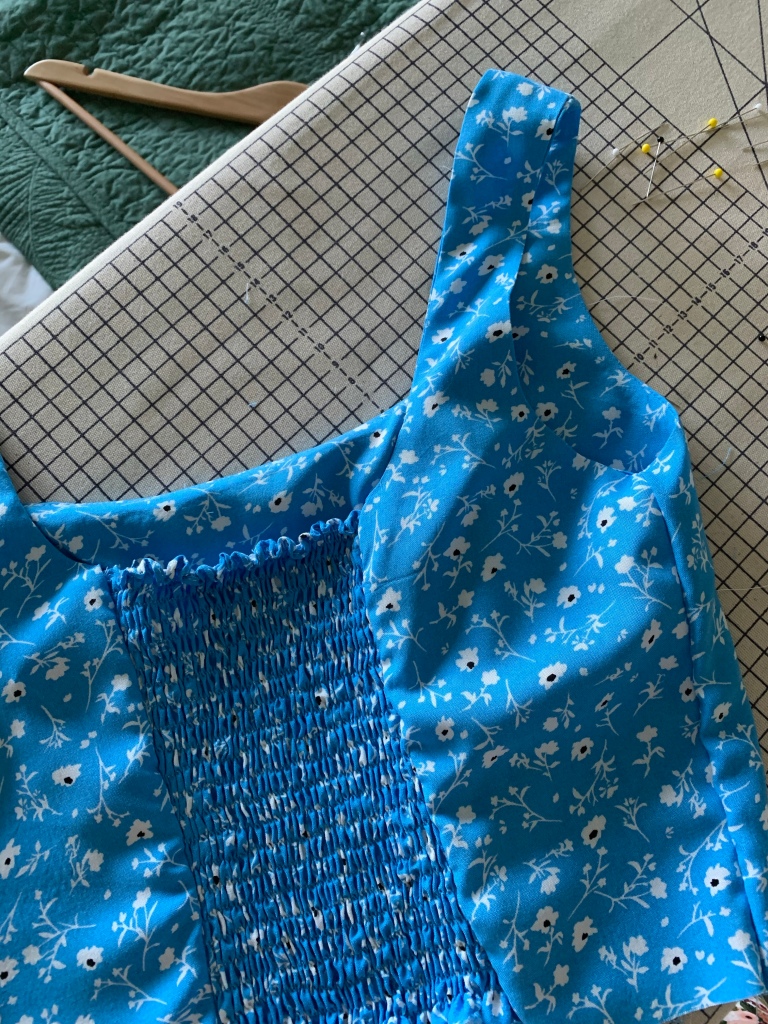
I then inserted the zip and finished the hem. One thing I should have done differently is overlocked the bottom of the bodice before attaching the shirring. Because I did that step after, I ended up having to overlock both the lining and outer fabric together which means the finish isn’t as perfect on the inside as it could be, but I’m really happy with the outside.
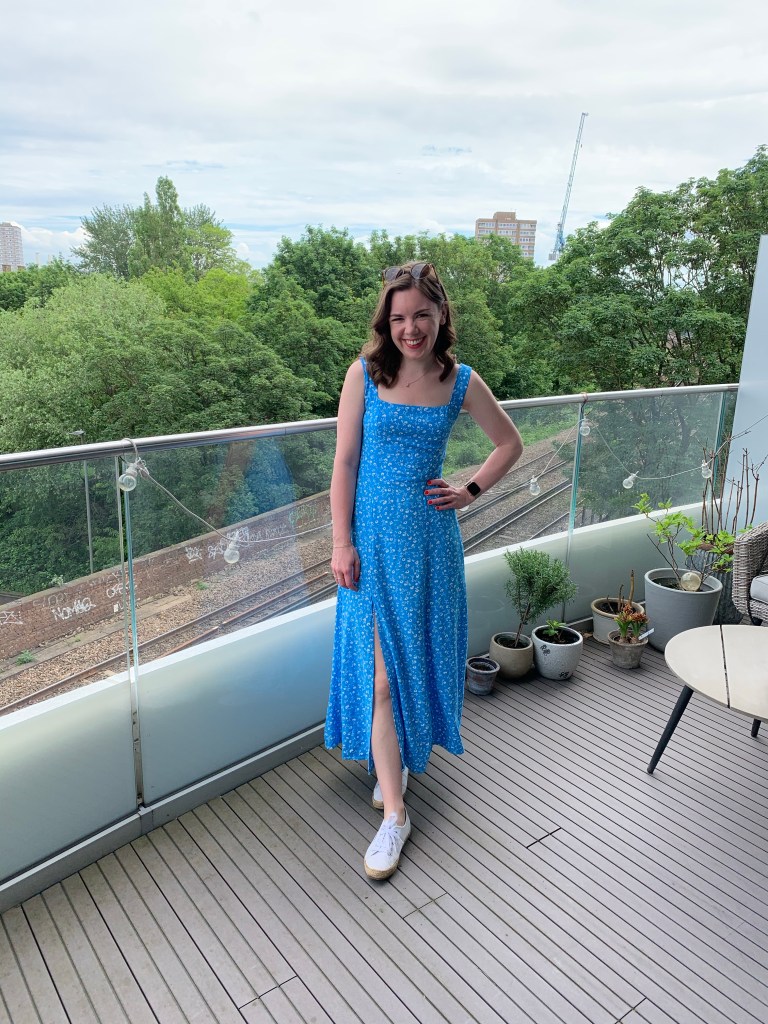
As for the Kim pattern, I think I may have to make more as I do love that square neckline. Next time I would bring the straps in further as although I love the shape of it, it’s not possible to wear a bra with it.

I really love the shirred panel and will definitely think about how to incorporate that into other dresses. I love the idea of a Flora with a shirred back so that may be next.


Love this! I just did something similar with the StitchWitch Tudor Blouse, and I love how it turned out. SO comfortable. You were smart to roll and finish the hem before shirring. I waited till after, and it was so gathered that I needed to do it by hand.
Oooh so satisfyingly tidy. I loved the shots of the inside. Enjoy your new dress!