Slap a bow on it at the end you might think, but the bow probably took up most of my decision making time with the dress (and the whole wedding in fact). Firstly, shout out to my friend and official Bow Consultant Man Yee Woo who not only fed back on every pic I sent her but she also accompanied me to the Chanel exhibition at the V&A which proved to have some great bow inspo at just the right time. Enough time for me to mull it over for, well, around 6 months.
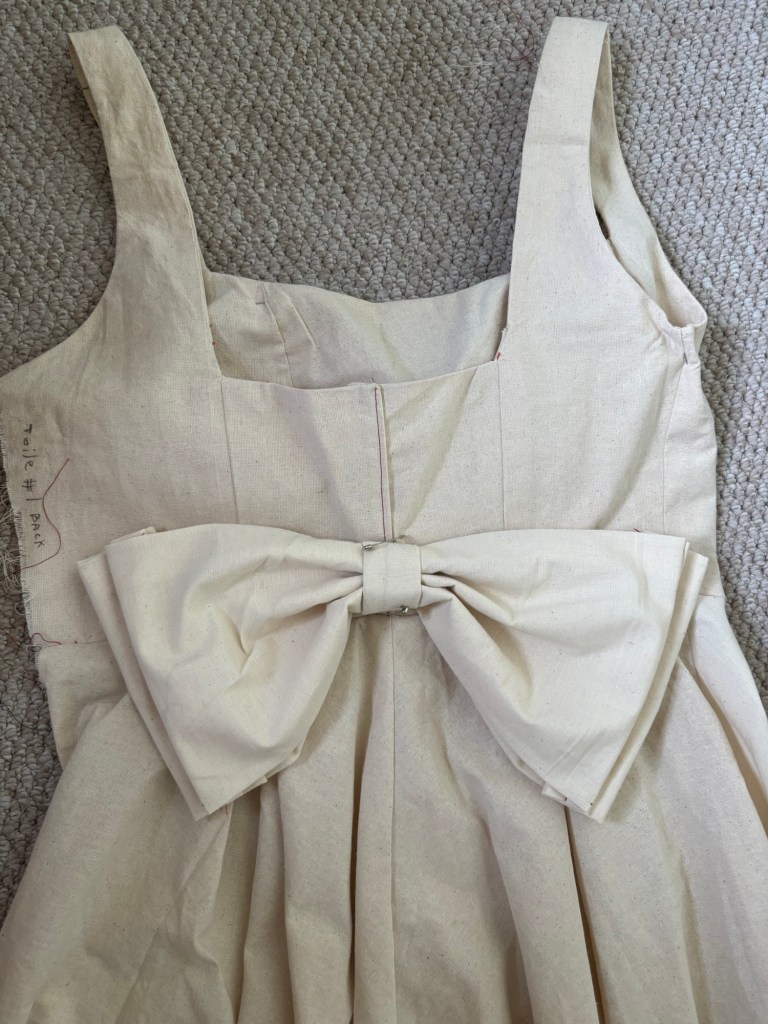
The bow took a lot longer than expected because I am quite fussy with bows as it turns out and I wanted it to be classic and elegant without being too girly or trend-led. The bow I made for the toile took no time at all but turns out that fabric choice is so important, as when it came to making the real deal it turned out way too structured.
My criteria for the bow was:
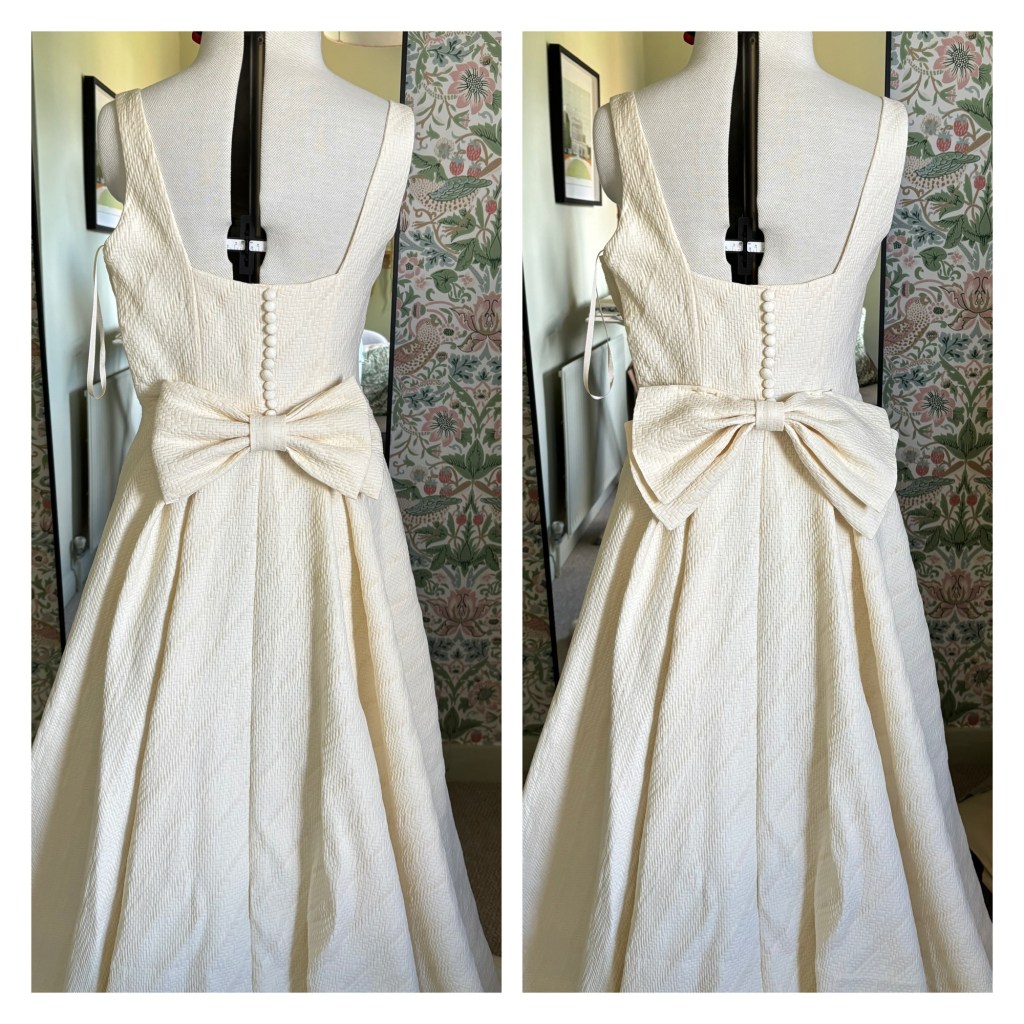
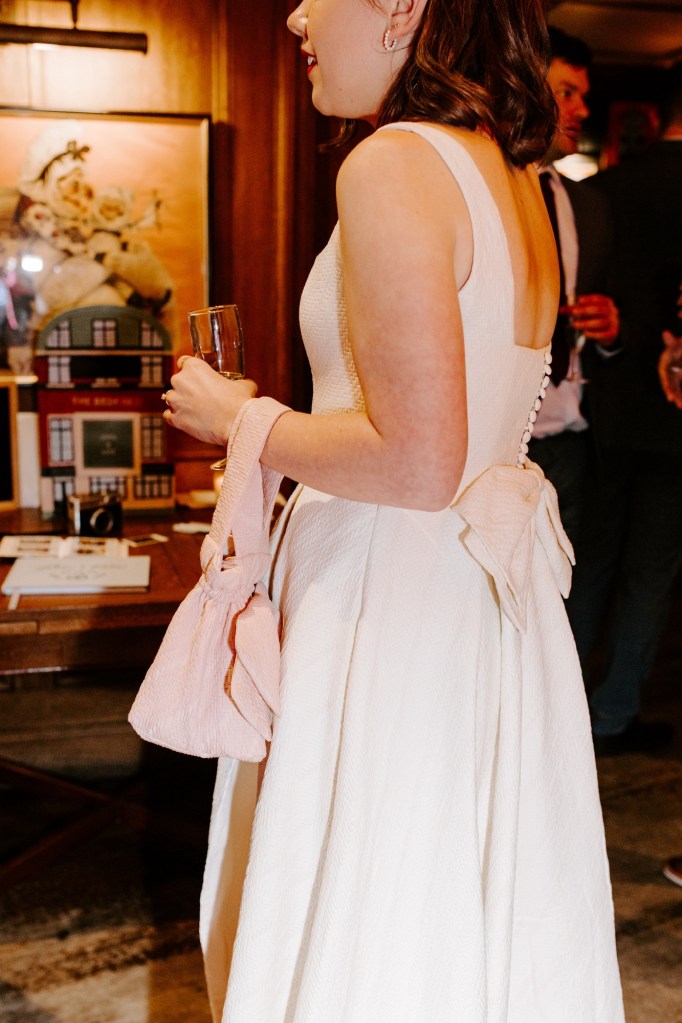
- I wanted it to show only at the back and not disturb the definition of the waist or poke through at the front
- It should fit with the rest of the design; I didn’t want it to look like an add on
- With so many bows around at the moment I didn’t want it to look too trend led; I wanted it to still be timeless


I made a few bows before I got to what I thought was my final one. I was feeling quite uninspired and thought it looked ok but there was always a niggle that it looked a bit stuck on and didn’t suit the rest of the dress. I initially made it asymmetric so it was two layers on one side and folded on the other side and I quite liked that it was a different take on a bow, but it was still a bit too regular for my liking and I couldn’t put my finger on what was wrong with it.


So I declared my dress finished and I truly thought I couldn’t spend any more time thinking about it as I had other things to do such as the wedding stationery and decorations, my second dress and ties and bags to make. I left it for about 2 months.
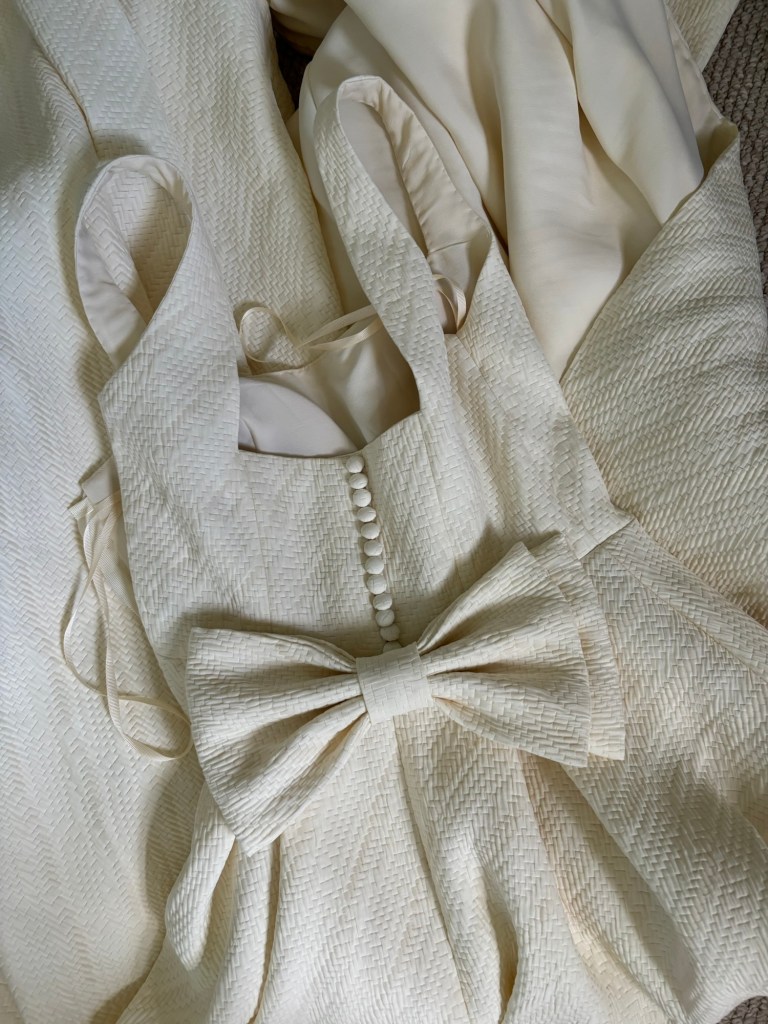
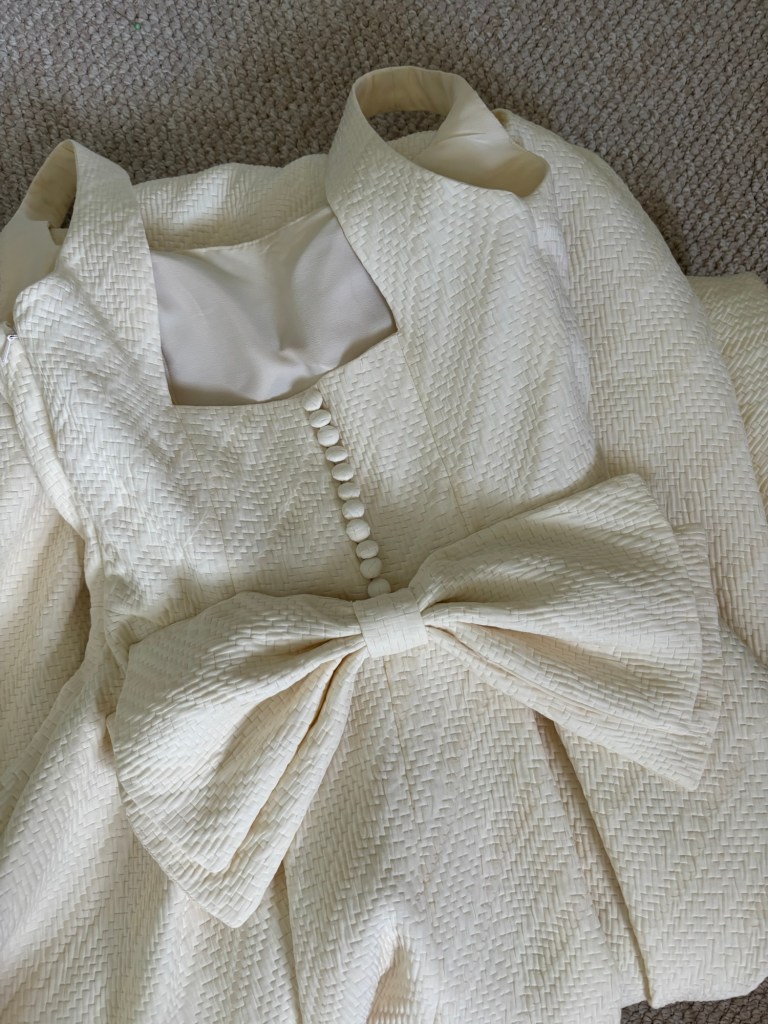
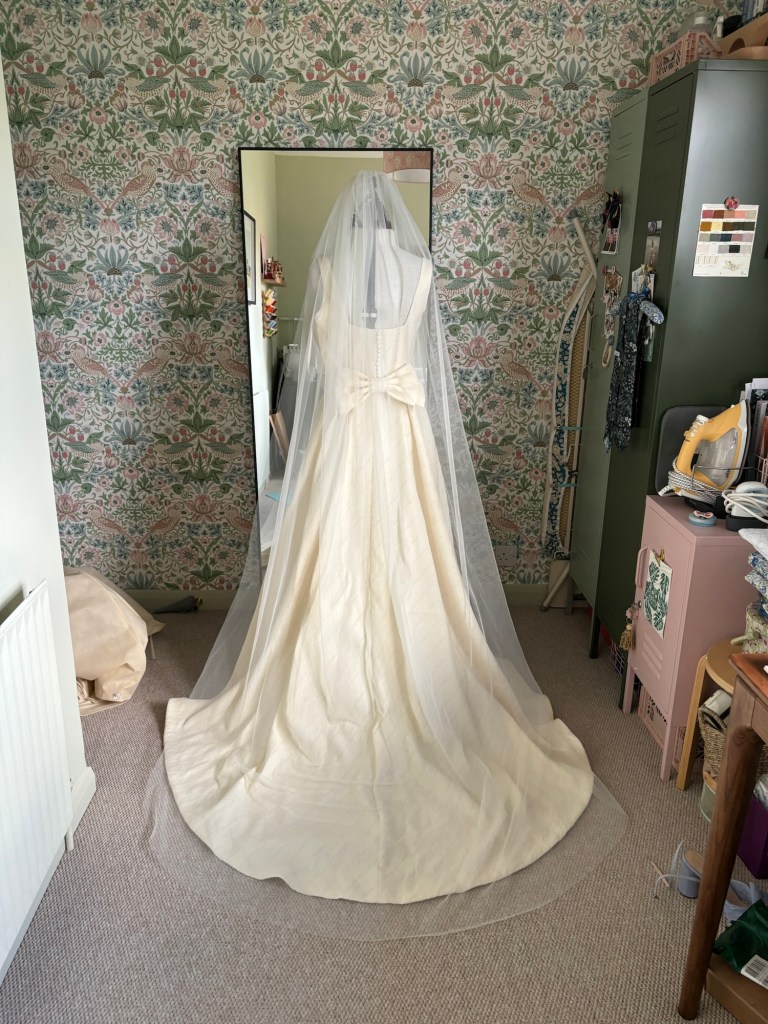
It was about 3 weeks before the wedding when I thought I needed to tackle it or I wouldn’t be 100% happy with my dress. I decided to make it bigger and droopier in the hope that it would fit more aptly with the drape of the skirt. Because the original one was so stiff I ended up backing it this time in my lining fabric (a silk crepe), and it worked a treat. It was so much less stiff and draped really nicely like the skirt.

It felt like a huge decision still to change the bow at the 11th hour but with less than 2 weeks to go I did it, and I’m so glad I did. The original bow was lovely but this one just made my dress feel finished. And although I felt such decision making fatigue in the end I’m glad I powered through. Shout out to Man Yee for her endless support and advice on my bow journey!
Obviously I made a Pisa Bow Bag to match and I replicated the bow on the bag (I had replicated the original bow at first and this was another last minute change).


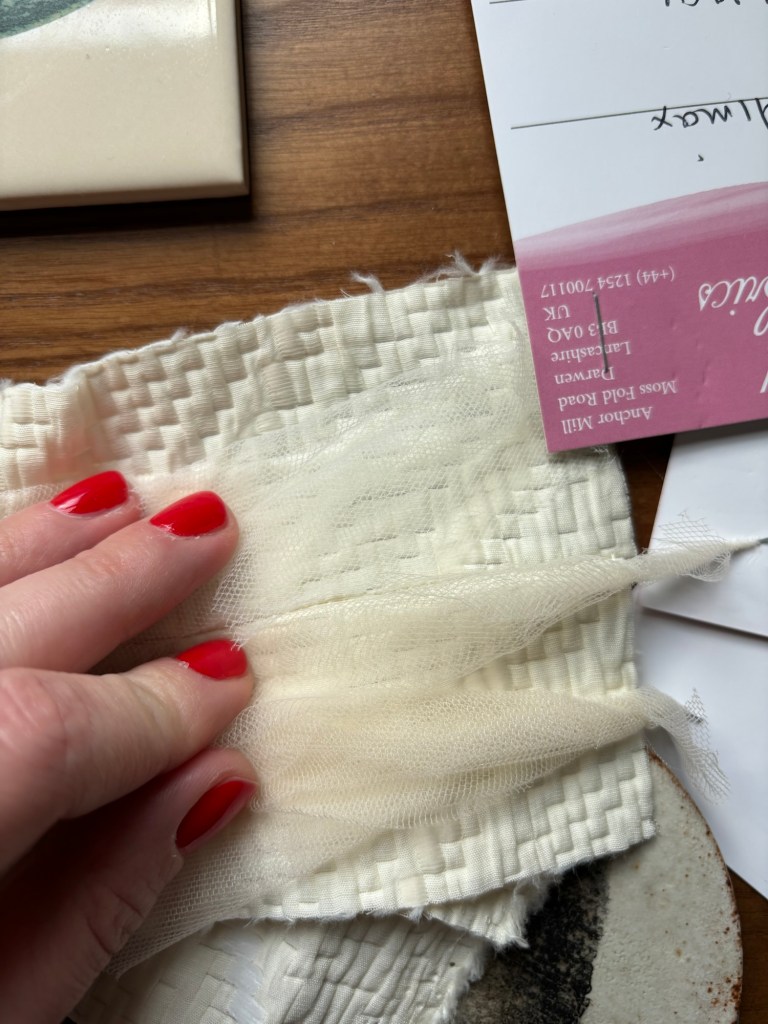
The final thing to do was making a veil. I was so unsure whether I wanted to wear one and in the end I thought I’d just make it and see. I bought lots of different tulles from silk to poly and in the end I just went for one from Minerva Crafts which was polyester as it was smoother and ironically silkier than the pure silk ones. Plus as I knew I wouldn’t wear it for the whole day it made more sense to save money here. One thing I will say about tulles is that there are LOTS of different shades of white/ivory/cream and I was initially worried that all would be too white because of the shade of my dress but I found one in the end (Avorio colour linked here).
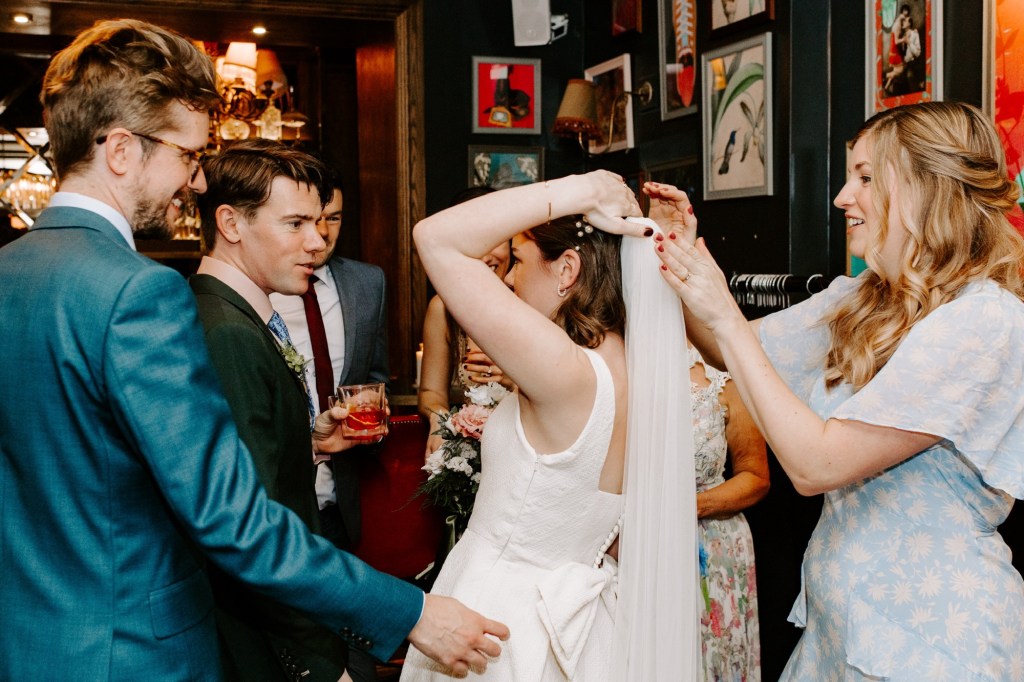
I bought a comb off Etsy that already had a ribbon attached and I just gathered up the fabric on my machine then hand stitched it to the comb. I cut it right at the end when I put the dress on my mannequin (had to improvise for the head with a tripod) and I then trimmed it by hand to mimic the hem of the skirt. Looking at the pictures I’m glad I made one, though I would say I did find it a faff to wear and it came off after about 20 minutes!


So that concludes my wedding dress making journey. It was a journey for sure and I surprisingly really enjoyed it. Nothing beats wearing your own creations and it’s made me less intimidated by longer projects (she says with an unfinished coat sat in her background). If you’re on the fence about making your own, I wholly recommend it. And if you’re wondering how much it cost, how long it took and looking for some nitty gritty data then my next post is for you.

