And now for the small task of ACTUALLY MAKING IT. And yes, the caps represent my mood when I realised it was time to make the real dress.
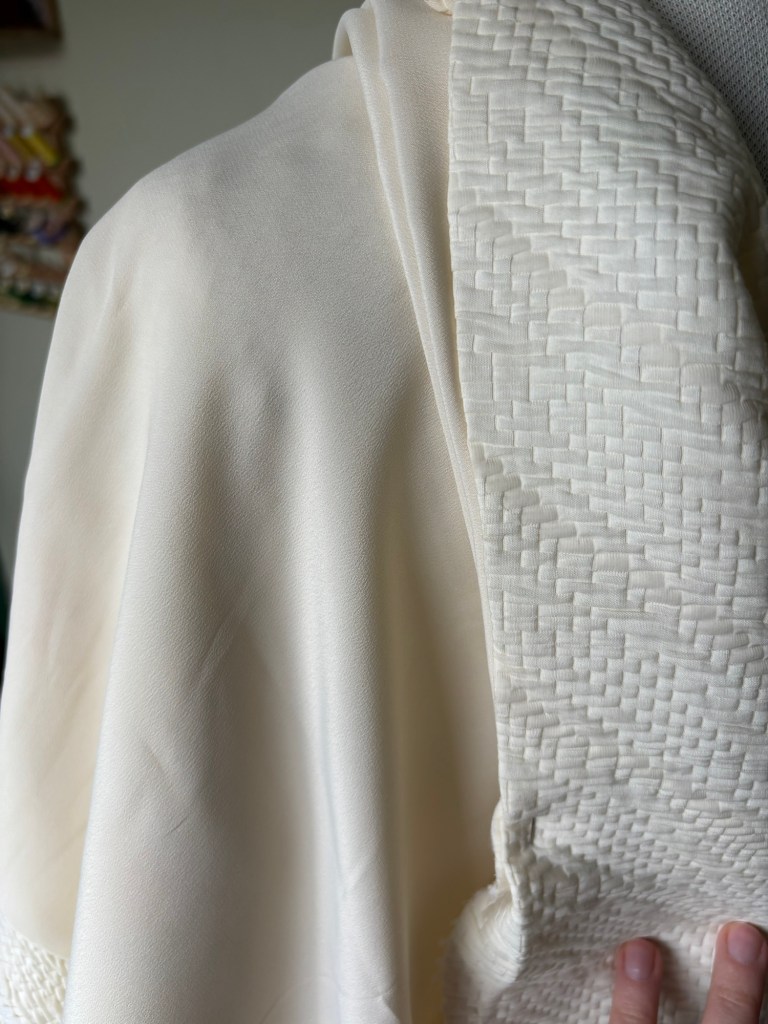
So firstly I had to gather all of my fabrics and notions. Obviously I’d already bought my main fabric – this silk jacquard from New Craft House. For the lining, I had ordered a few different ½ metres of silk crepes to colour match to the outer fabric and the best one I found (and ultimately settled on) was this silk crepe from New Craft House. I originally thought about having a blush pink lining because I thought it would be cool to see a flash of it in the skirt, but at the same time I was worried about the bodice neckline due to the thick fabric and I thought if it had a contrast it would be more likely to show. I also wanted to make sure the lining was consistent in the whole dress in case it made a difference to the appearance of the main fabric. I did add an additional layer to the bodice which was a silk organza and was almost completely sheer. It just gave a bit more structure to the bodice and enabled me to attach my boning casing (ultimately I thought it would flop around too much if I attached it to the lining. Plus, as it was encased in the middle, it meant the finish of the inside was really nice and neat. In addition to the fabrics, I bought some notions – most of these were bought over time as and when I needed them but I’ll list them here for completeness. Shout out to the Sewing & Craft Superstore in Tooting who saw me pretty much every weekend for around 6 months! That place is a treasure trove.

Notion wise, I used:
- A 1.5 inch horsehair braid for the hem (around 5m)
- 12 self-cover buttons (11mm); I originally used metal ones but found that the silver actually showed through slightly so I made them again using white plastic ones
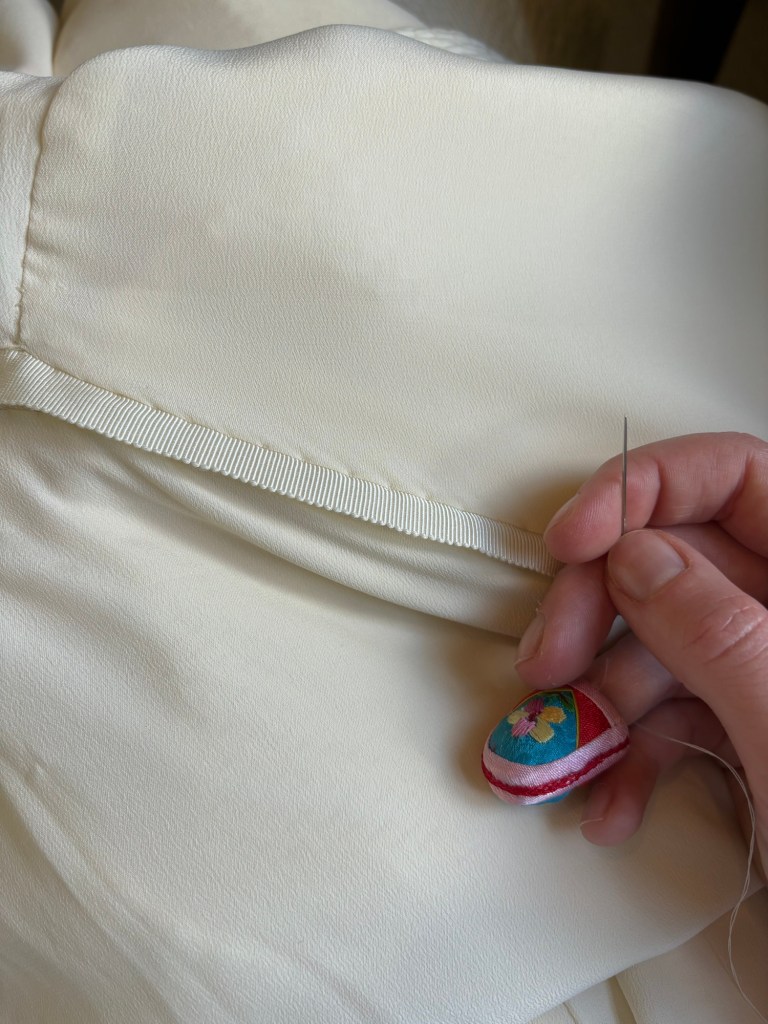
- 8mm ivory grosgrain ribbon (for hanging the dress)
- Petersham for the waist stay
- Hook and bar for the waist stay
- Endless amounts of Gutermann sew all thread in 001 Ivory
- Tulip Hiroshima pins (link) (I got these in the Fabric Godmother advent calendar and they are the best!) and Bohin glass headed pins (link)
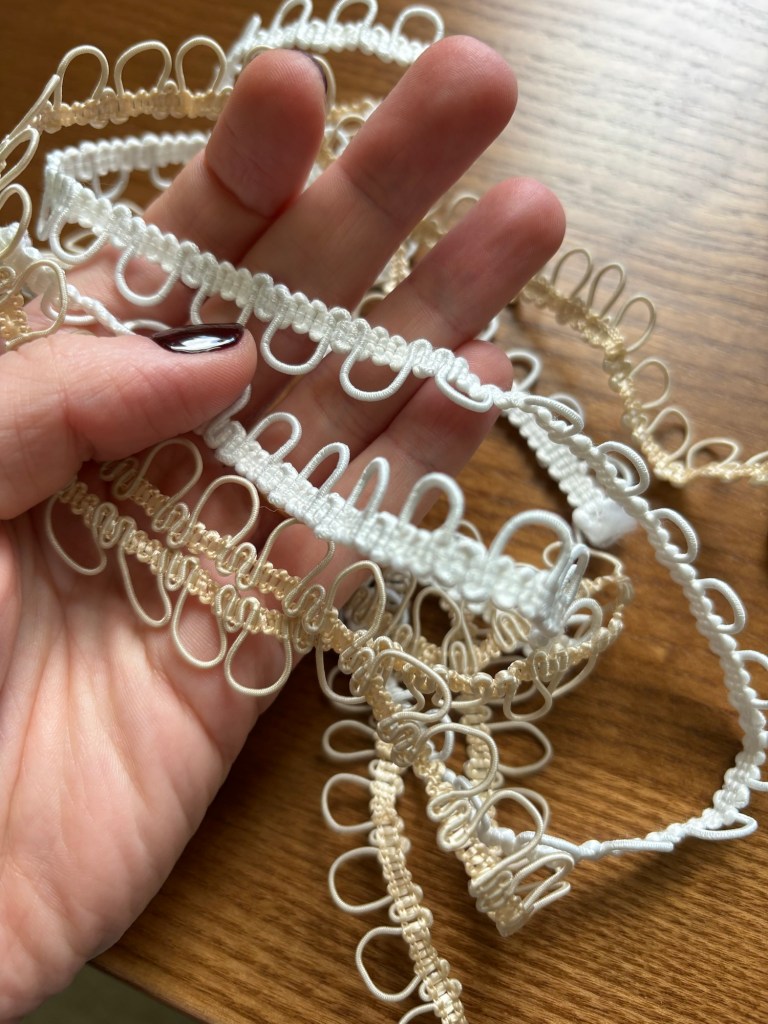
- Elasticated button looping
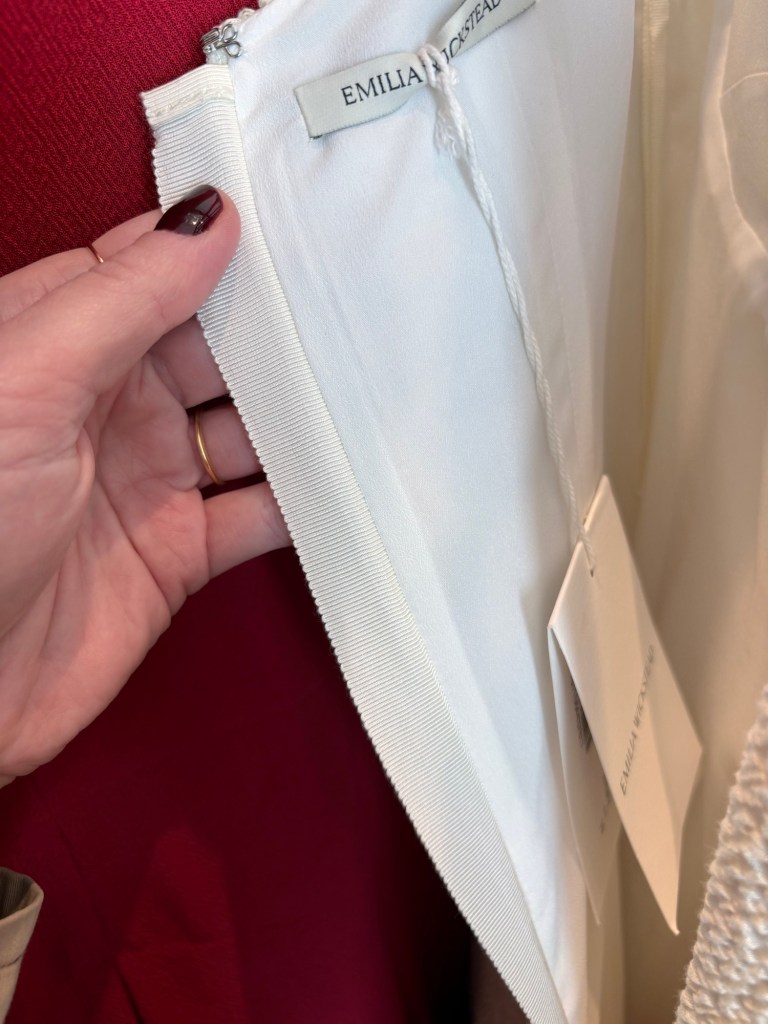
- 1 inch grosgrain ribbon for the inside of the zip (I saw this on an Emilia Wickstead gown and just had to replicate it, so fancy)
- Bust cups (I used one from a sports top which fit me nicely)
And an unexpected tool that was really helpful in handling this fabric was a wooden clapper. I used this on all the seams and the neckline to get a flat finish as the fabric was so bouncy. I ironed on a silk setting and then put the clapper on whilst the fabric was still hot.


Making the dress
As mentioned I was a bit concerned about the fabric being so bouncy and needing to get a crisp finish on the neckline. And it was a legitimate worry as my neckline, despite being perfect on the toile, was a bit of a headache in the main fabric. I turned to my wedding dress consultant a few times for her input (none other than Man Yee of Sewing Bee fame), and fully recommend having a sewing someone to bounce ideas off if you are planning a special make yourself.
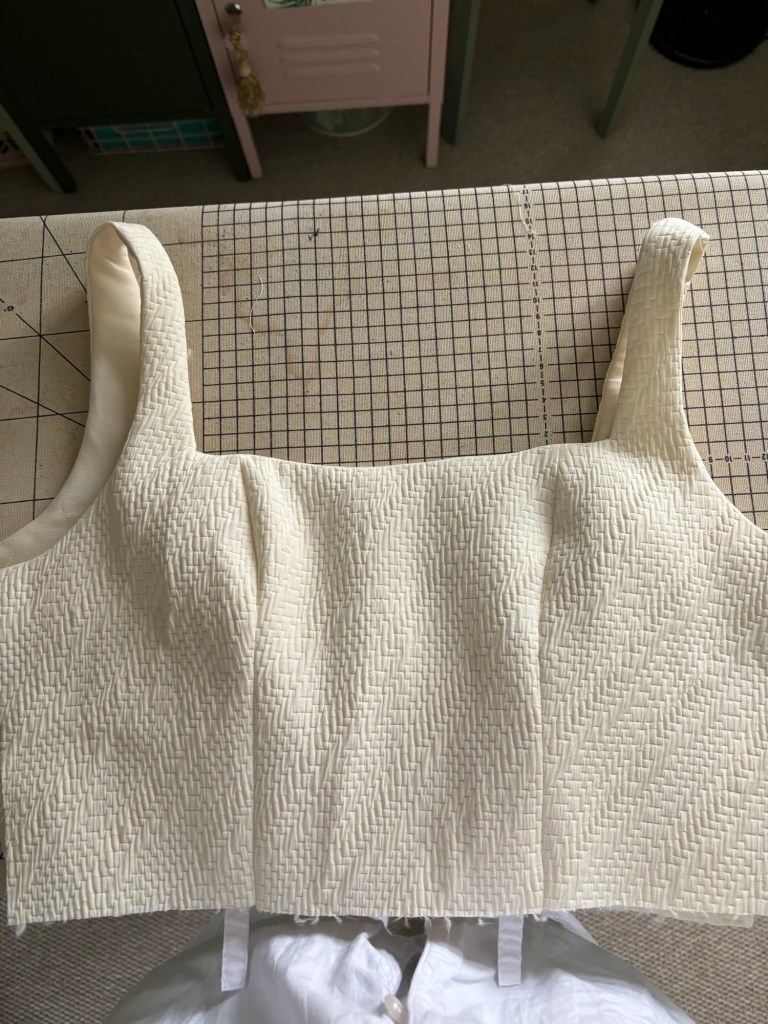


I don’t have any great revelation for how I fixed the neckline issues, but you can see from the pictures that with a gentle curving it retained the square neckline look without the wobbly line. I also clipped the curve methodically and used a clapper to get the neckline very flat. I did under stitch it on the machine, but I think it would have been better by hand. I ended up hand under stitching the other seams including the straps and it was a bit smoother.
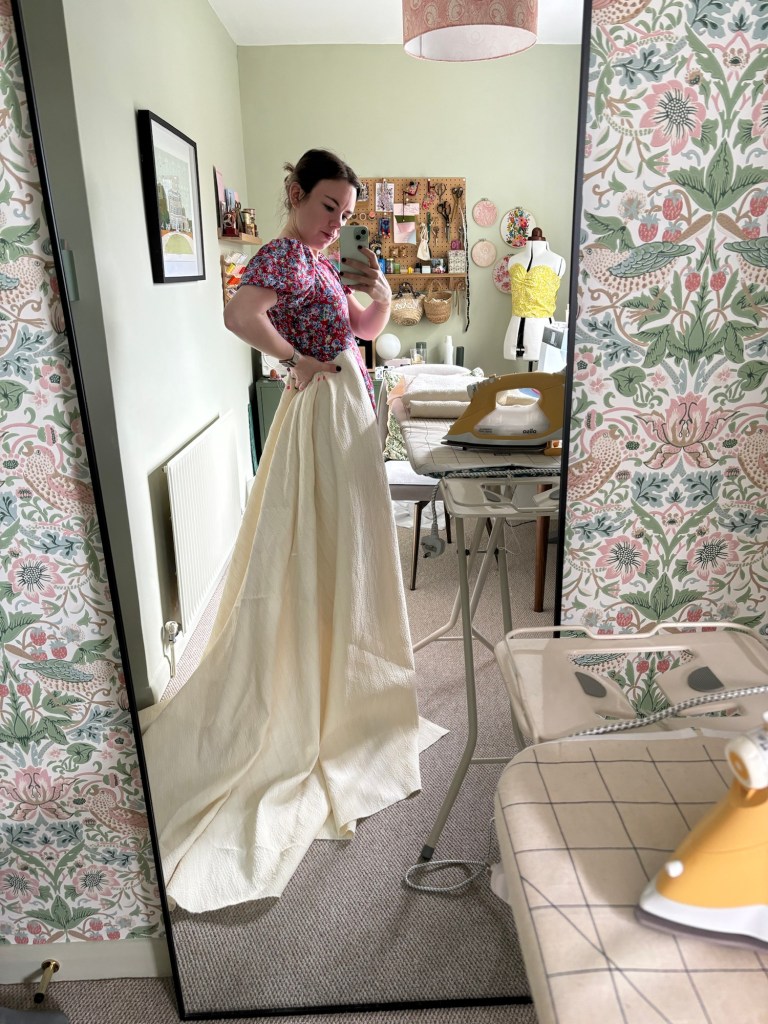
When I cut out the skirt and saw the drape of it, it really brought it to life for me. The fabric has such structure and drape at the same time, and it felt heavy and luxurious. Although yes it was a lot of fabric to drag through the sewing machine.
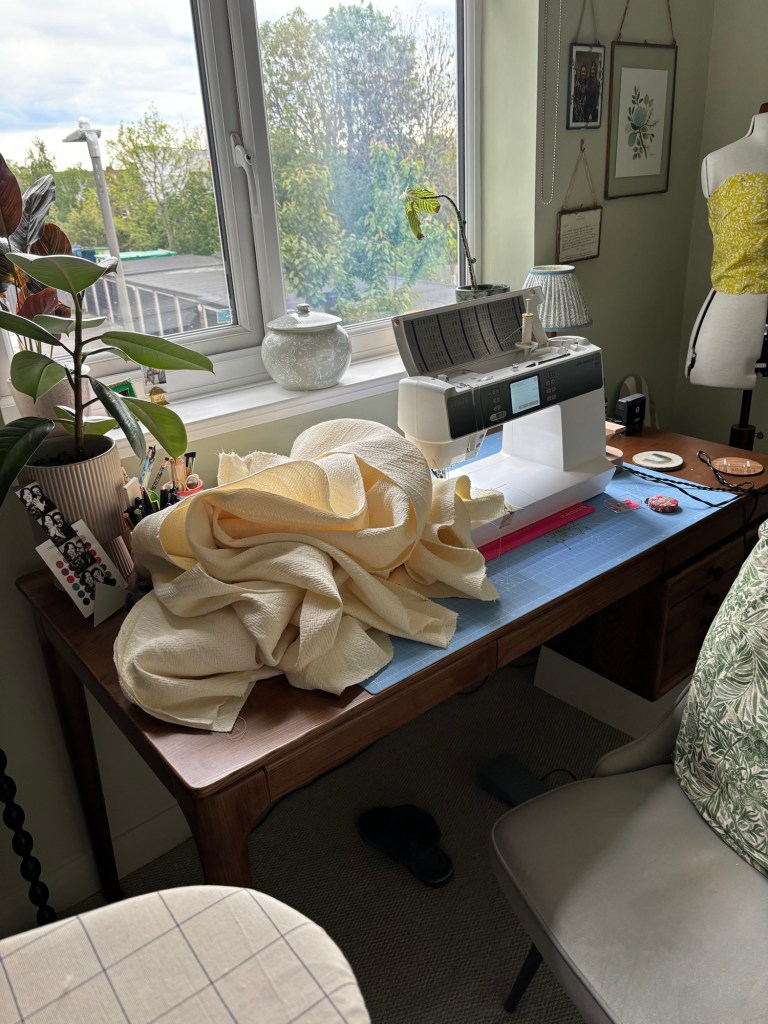
Aside from the bodice, sewing the dress was pretty smooth. I’d made most of my adjustments for my final toile so I have to say it was mostly pure joy sewing it up and imagining the finished garment. The only stressful part was trimming the hem which I had to do on my mannequin. I made sure to put my wedding shoes on and adjust my mannequin to my height – I measured this from the waist rather than the shoulders because she doesn’t really have shoulders.

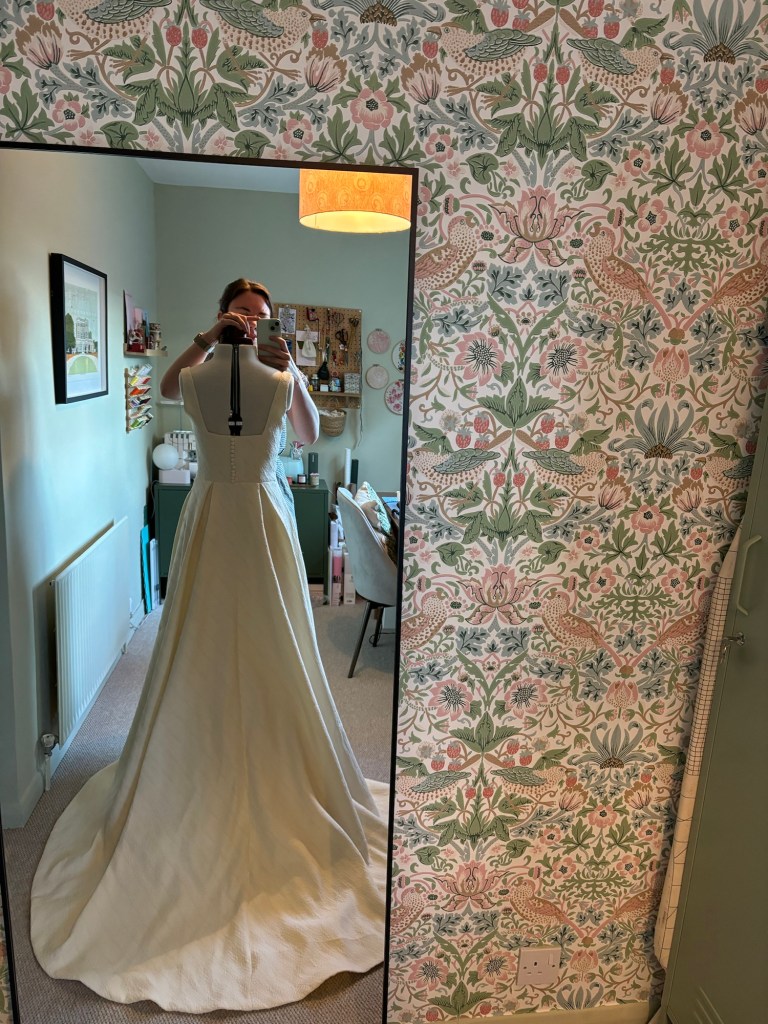
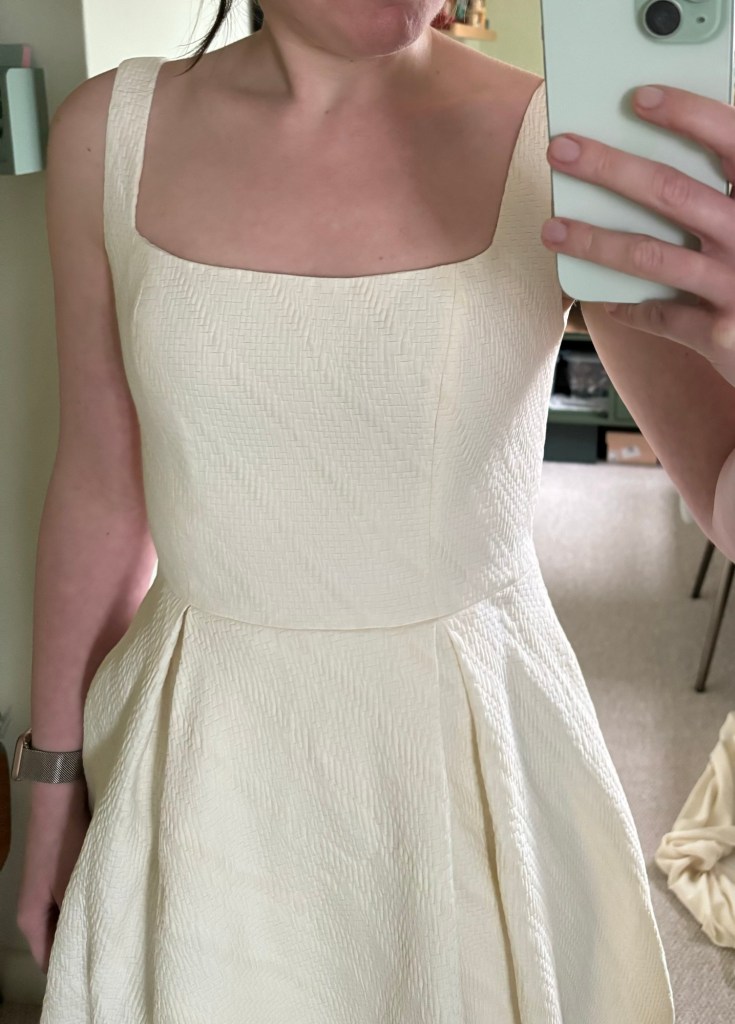
I ended up hand sewing the whole hem as I wanted to make sure the tension was right between the outer fabric and the lining. If the lining was too tight it might pull the outer fabric but too loose and it might show at the hem. I put the dress on my mannequin and laid out the skirt a bit more stretched than it would be when wearing it, and I pinned it all by hand before stitching it down. This photo was from when I tried on the dress before sewing the hem and I think you can tell how chuffed I was with it coming together.


So after some hand sewing, the dress was done. It was quite literally in the bag. I finished it in June (the wedding was in September) and so I had a bit of time to mull over some of the finer details such as the bow, which I’d add later on. At this point I was so happy with the final dress and glad to have a little break to focus on some other things such as the wedding stationery, décor and my accessories. It felt like I was quite ahead of time and I couldn’t wait to wear it. Little did I know, I would be sewing the bow a week before. There is so much to say about the bow, it will be another post!


Post contains affiliate links from New Craft House

Really stunning and what a job you did! So interesting to read about the process on the blog, thanks for sharing!