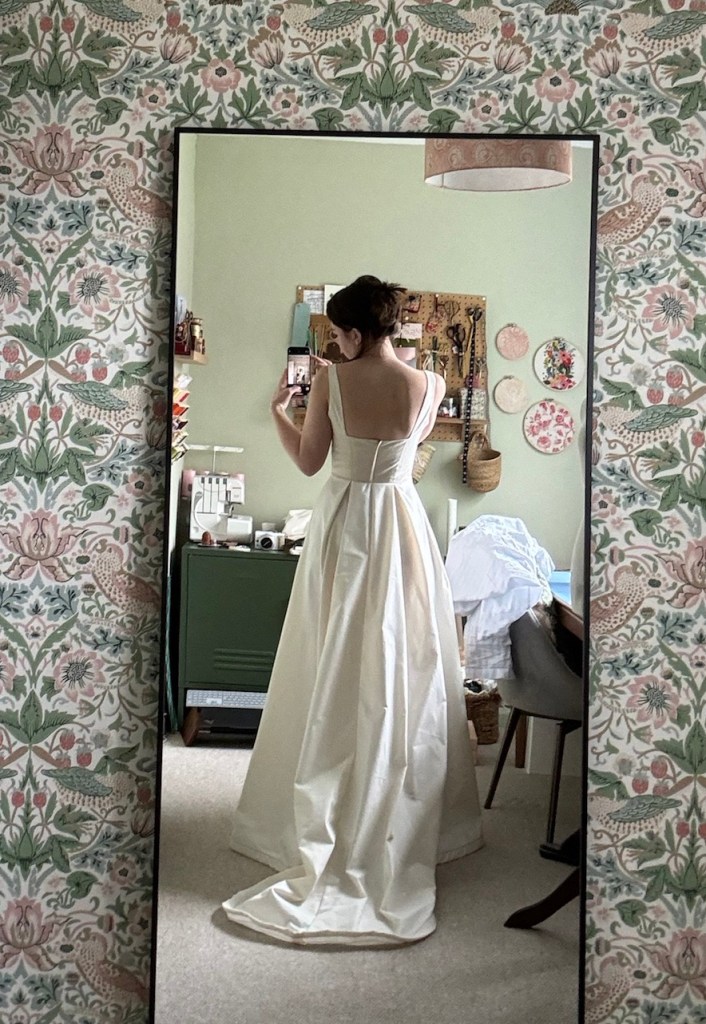
While the bodice felt like my comfort zone, the skirt really did feel like a challenge to my pattern making skills (which are very self-taught) and while I knew I would give it my best shot, I wasn’t 100% convinced that I would be able to recreate the skirt I loved from Jesus Peiro gowns. But on a confident day, I started to draft it to see what happened, and I ended up fairly quickly getting to something that almost resembled it, and I saw the light at the end of the tunnel.

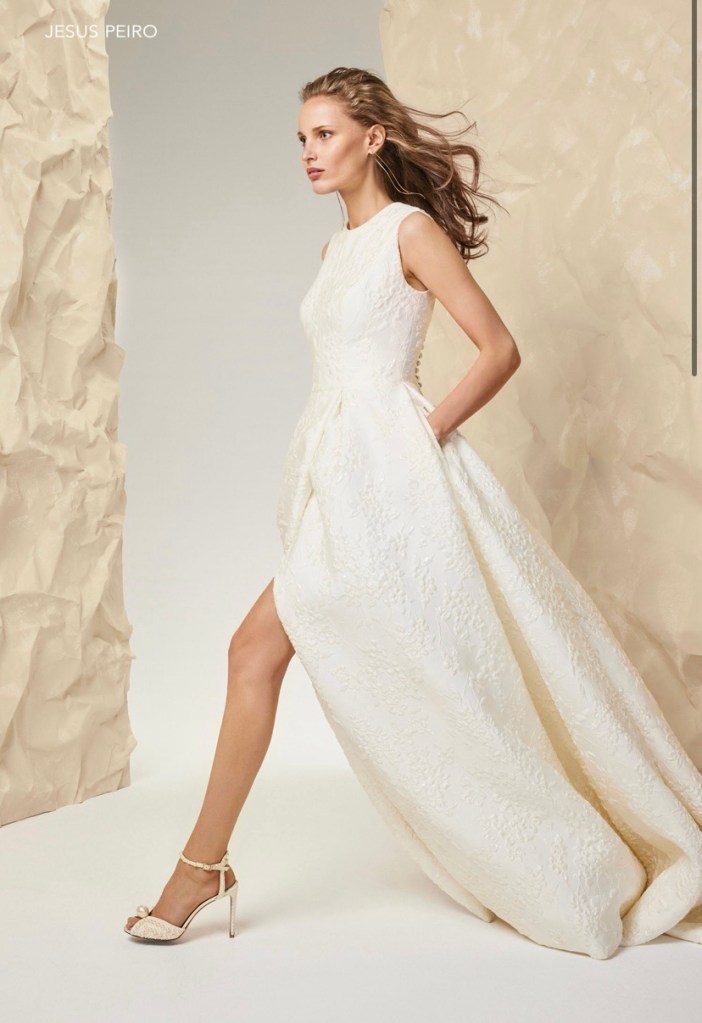
As a reminder, I was aiming for something similar to the Jesus Peiro gown pictured below, with a wrap front that showed a peek of shoe, and a small train. My starting point was the By Hand London Flora skirt because I noticed that it had similar box pleats that I thought would be easy to match to the bodice princess seams. Despite owning 30+ Flora dresses, I haven’t actually ever made the Flora skirt so I thought it would be a nice little homage to my fave pattern ever.
The Flora skirt is designed to have a back zip, a hi-lo hem and it doesn’t have the wrap front that I wanted for my dress. I started by tracing the skirt pattern onto pattern paper and lengthening it to full length to create the basis for my pattern. I worked out that the hi-lo hem was roughly 15% longer at the back and I wanted my train to be a bit more dramatic, so I extended the back piece further. In this initial toile the front skirt was 90cm and the back was 150cm.
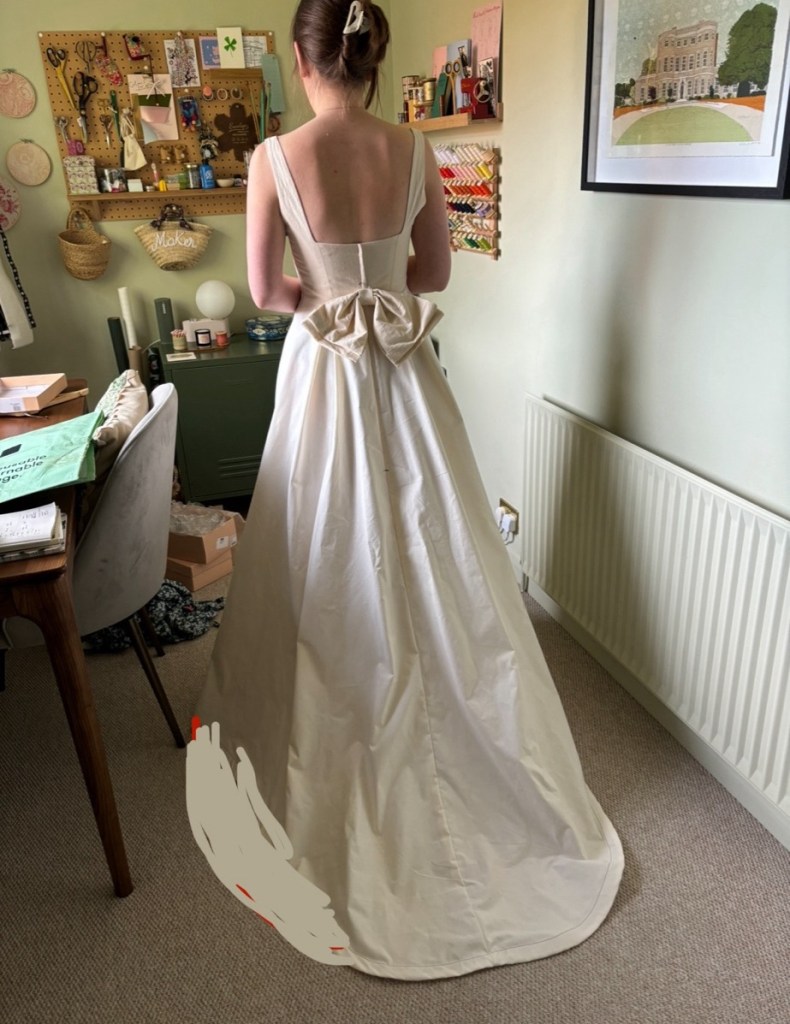
I sewed a toile of the skirt and was pretty happy with the overall shape, so next I was going to try and create the wrap front. This took a bit of head scratching to be honest as you can see from my nonsensical drawing below, but I’ll try to explain how I did it.

I started by laying my pattern pieces onto paper and measured the distance between the centre of the skirt and the centre of the box pleat. I then extended the pattern piece from the centre of the skirt by that measurement. This would be the top part of the wrap skirt and when overlayed onto the under-wrap skirt, it would mimic the inverted box pleat. I then drafted the under-wrap skirt which was the same as the top piece except I only needed half of the pleat as I was only sewing up one side (the top wrap of the skirt would meet it and mimic a full pleat). I should also add that I folded the piece in half and made sure that the waistline curve was consistent on both sides.
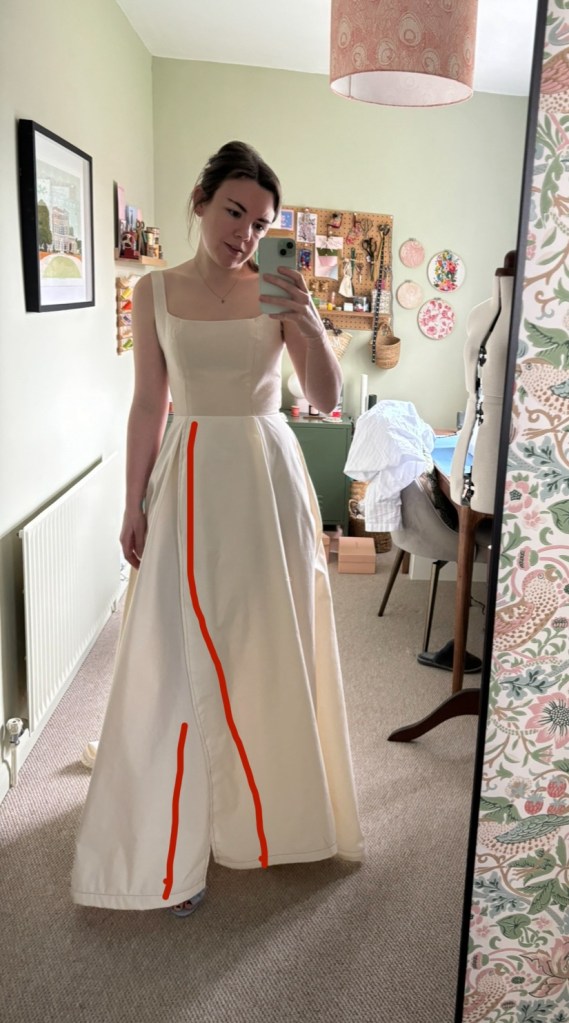
Like the inspo, I wanted the centre of the wrap to be in the middle and show my shoes, so I also curved both skirt pieces from the waist out towards the side seams, so that my shoes would be visible in the final dress. I didn’t want this to be straight as I wanted to still have coverage to avoid flashing (which I mainly achieved bar a couple of photos!) I ended up tweaking this a few times on the final toile until I got the look I wanted.
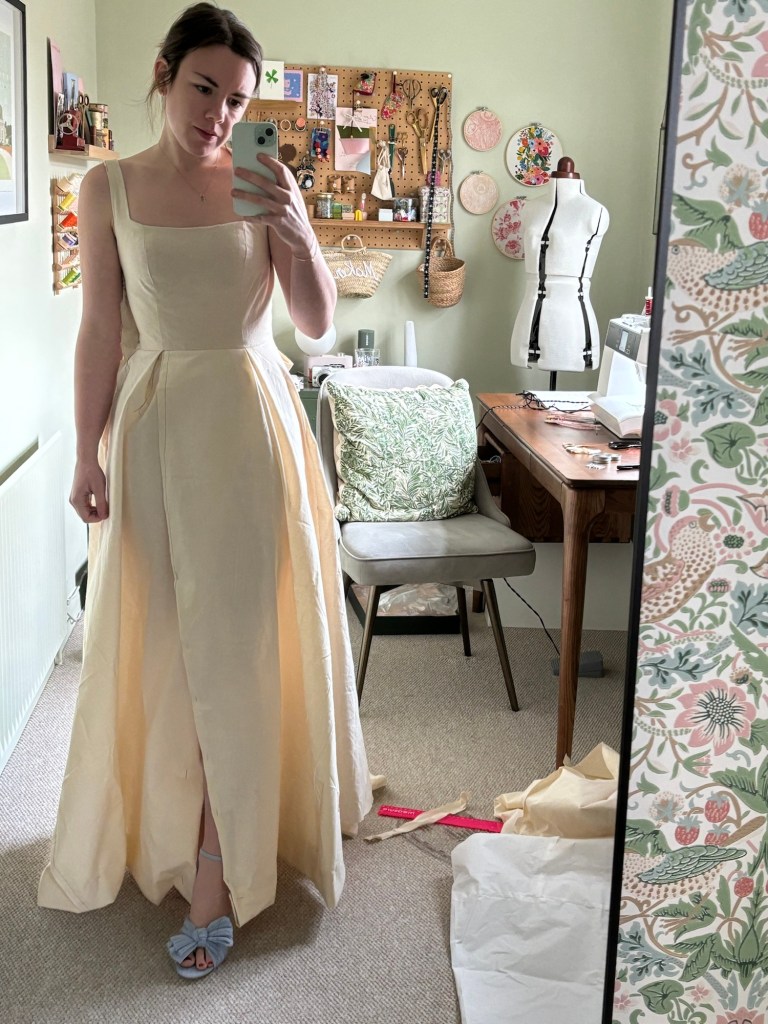
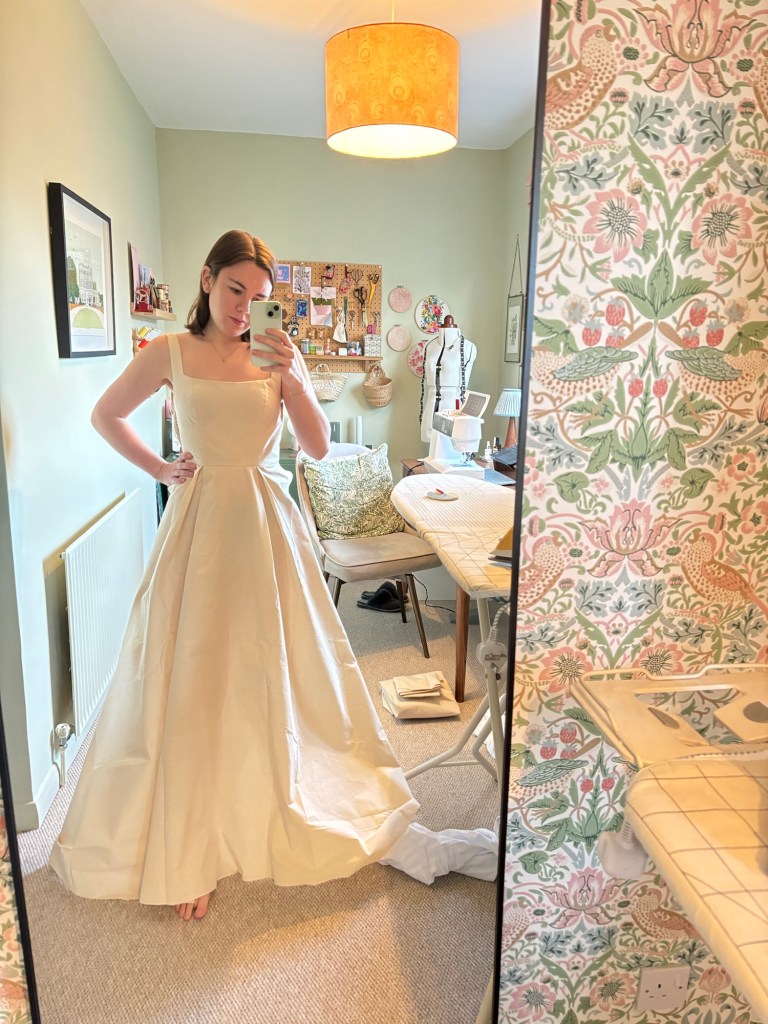
I had set myself a deadline to share my final toile with my Mum and my Maid of Honour by April (as a kind of wedding-dress-shopping-like experience). For the final toile I hemmed the dress with a 1-inch-thick horsehair braid which added a nice structure to the skirt. At this point I was pretty happy with my toile, but after seeing the pictures that they took, I decided to make a couple of tweaks to the final pattern. I would lengthen it by a couple of inches, as I wanted it to skim the floor. And I would also widen the train to make it more circular. At this point it was April and around six months out from the wedding. I transferred these changes to my final pattern pieces, and I was finally ready to embark on my most special sew.