I spent a lot of time toiling the bodice, starting in October 2023 and finishing my final toile in January 2024. If you don’t know, a toile is a practice version of the garment often made in cheap fabric. I made mine in calico.
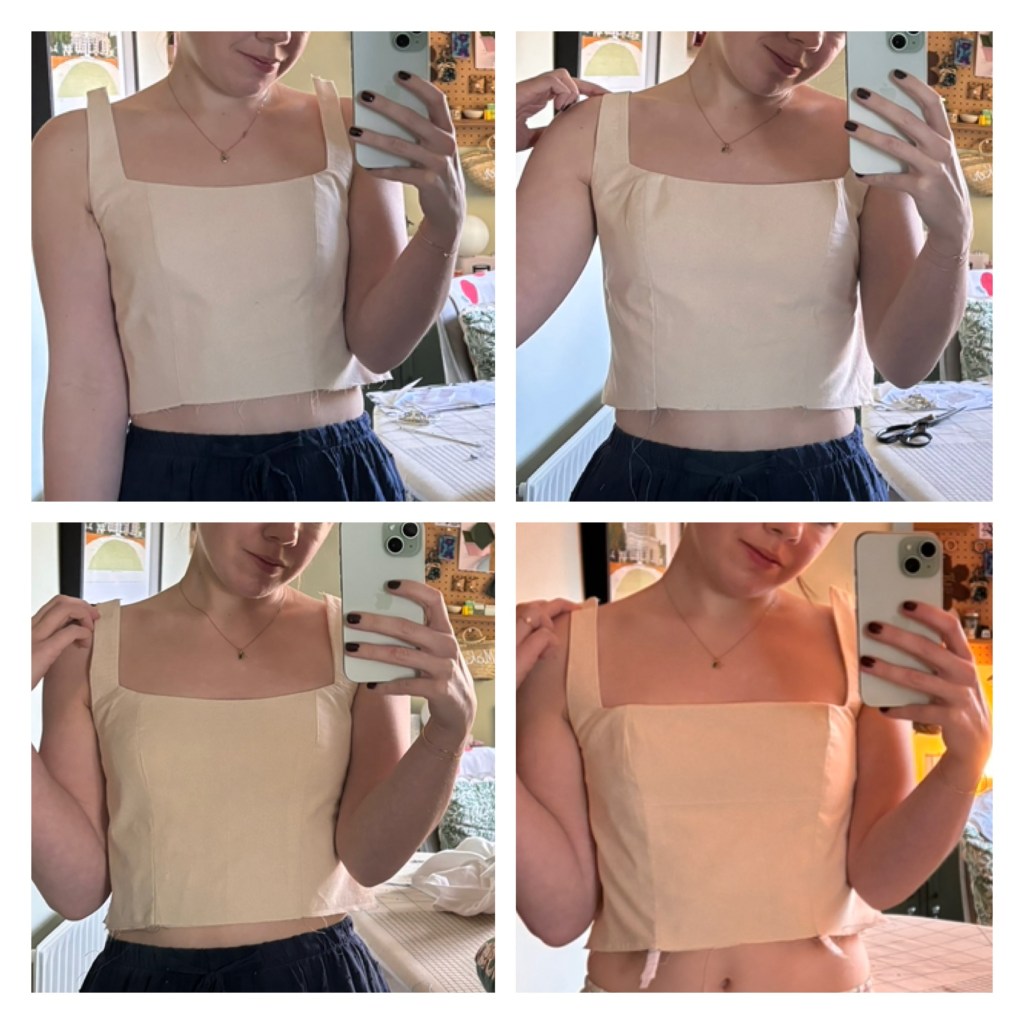
I didn’t necessarily take pictures or videos in order to share this journey, but more as a reference for myself to define fit issues along the way – this will become apparent when you see many different versions of pyjamas and unwashed hair.
The bodice was something I felt fairly confident in making since I’ve made a fair few dresses now. However I wanted to make sure the fit was the best it could be, and I wanted to level it up by adding boning and some couture finishes. My main dress fabric was quite thick and I knew it could be tricky to make the bodice crisp (I’ll go into more detail in future posts, but I will say now that it was quite tricky and I picked up some tips along the way to perfect it).
I started by toiling the front of the bodice first because I wanted to make more adjustments to the front of the pattern than the back. First I did my usual adjustments which were a ½ inch SBA (small bust adjustment), also shortening the bodice by ½ an inch and shortening the straps by ½ an inch.
Toile 1:
The first toile was a bit too small on the bust, so for the next one I would add ¼ inch to the curve of the princess seam.
Toile 2:
Second toile was ok, but I decided I wanted the straps a bit thinner in line with my inspo so I edited those to be thinner for the next toile.
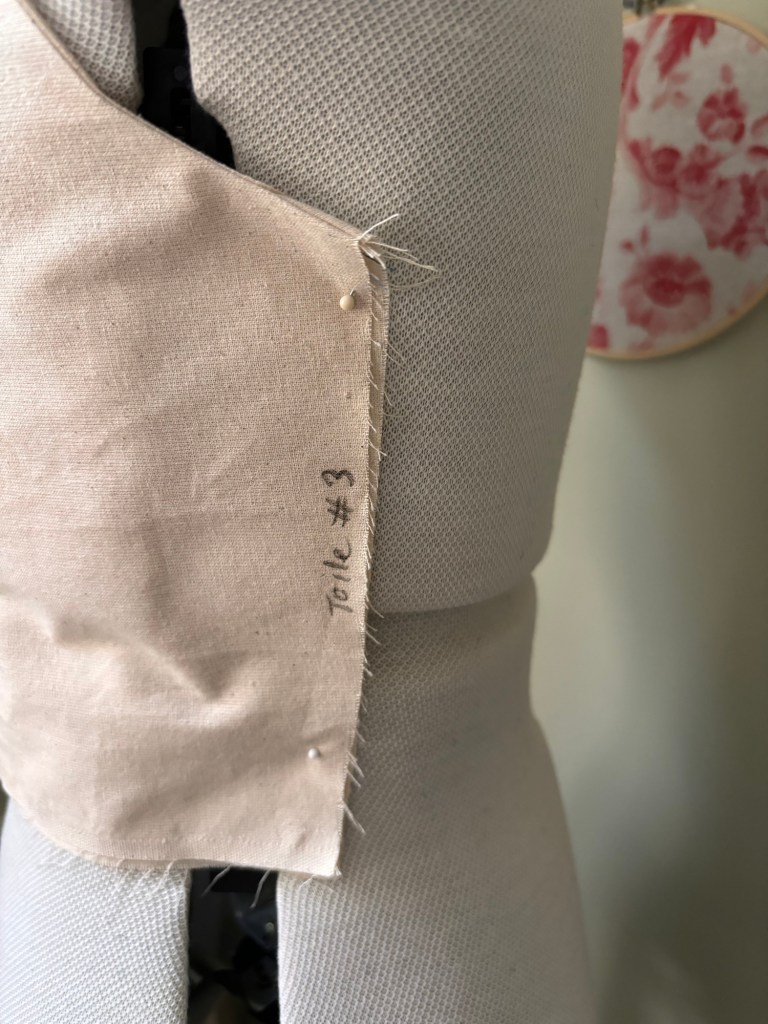
Toile 3:
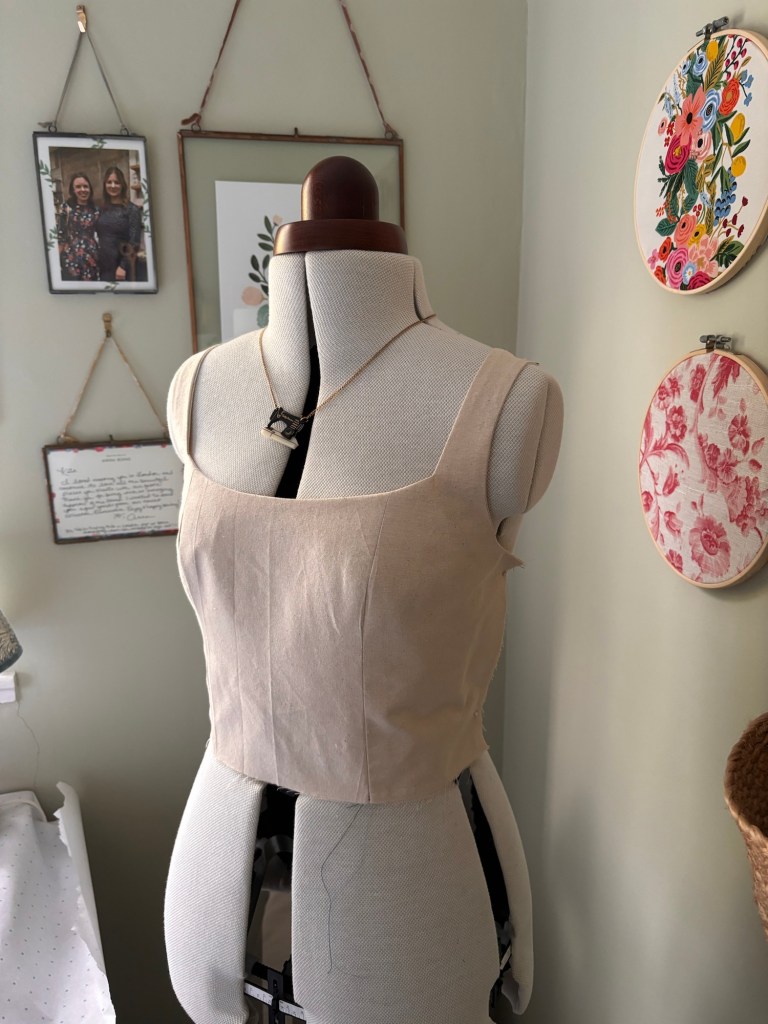
Toile 3 pretty much nailed it, but I was toying with the idea of making the neckline more severely square as I’d seen lots of Emilia Wickstead dresses in that style and I loved them. So I’d try that out in Toile 4 by squaring off the neckline on my pattern.
Toile 4:
Toile 4 had a squarer neckline which I liked but in the end I decided that the original neckline was more timeless/ less trend led and looked nicer on me. I also found that when inserting the boning on this version, it pushed up and disturbed the straightness of the neckline (there may have been a way around this, but to be honest I even saw this looking at some ready to wear wedding dresses). So I decided that I would use toile 3 as the basis for my final toile.
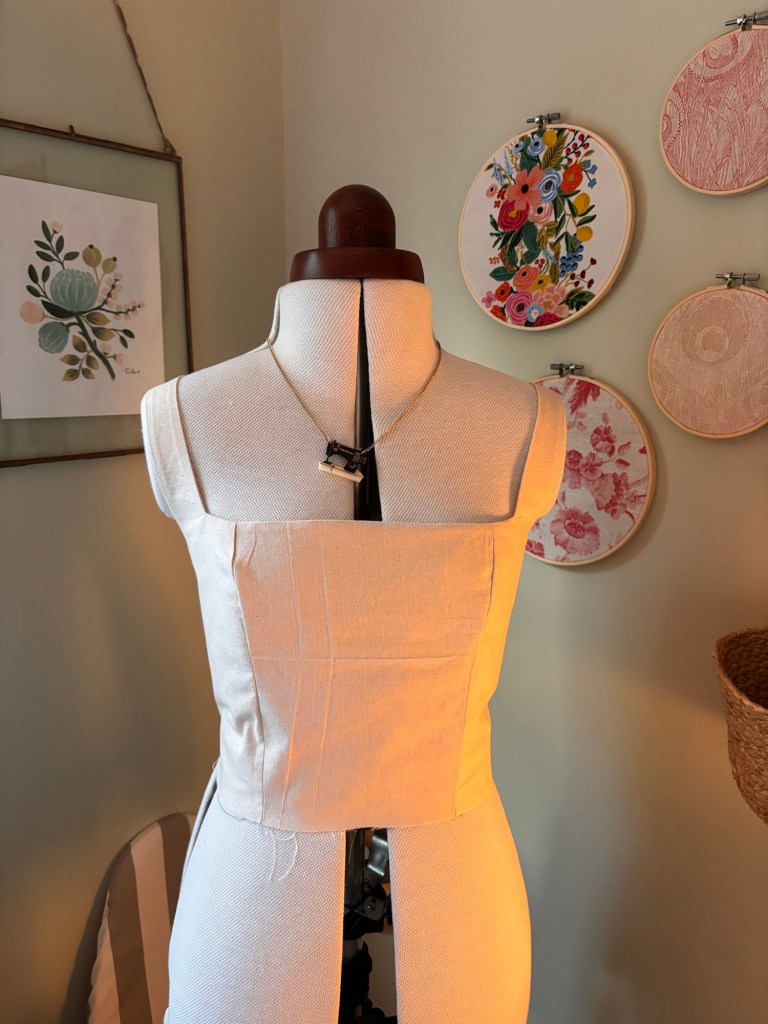
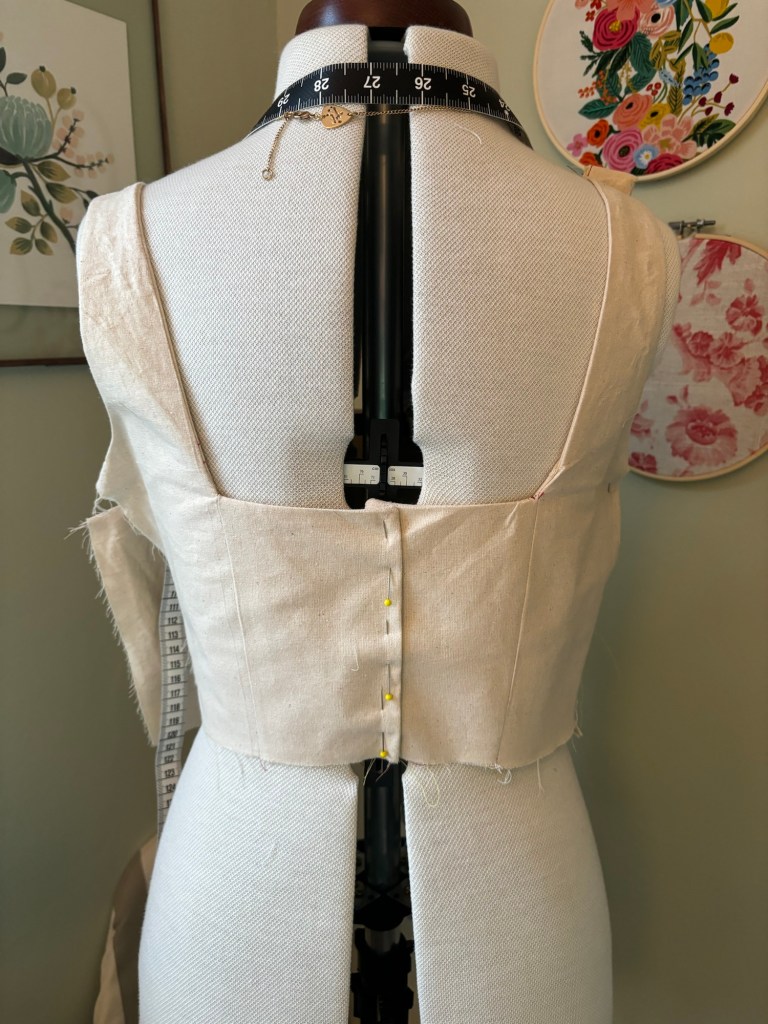
Onto the back of the bodice, I shortened it by ½ an inch, same as the front bodice. I also reflected the same shortening adjustments of the front straps to the back straps. I wanted a lower back so I also made that adjustment to my pattern at this point as well, lowering it by about 1.5 inches. My main challenge with the back toile was that I had cut the back piece on the fold as I planned to put the zip in the side of the dress. Due to my edits for the straps, it was really hard to turn out the straps as there was so much fabric going through a very thin strap. I knew this would be even trickier in the final fabric, so at this point I decided to cut the centre back bodice in 2 pieces that overlapped, and create a fake button placket. The buttons were always going to be part of the design anyway, I just decided to make it look like an actual button placket, with the added benefit of be easier to sew. At this point I thought it could also be a useful feature if I needed to make any last-minute edits to the fit of the bodice.
I made a final bodice toile with all of these adjustments, and I sewed in the boning. I used a boning that came in a cotton casing, so I sewed in the casing and then slotted the boning piece in. This worked really well on the princess seams and was really easy to sew in.
At this point I was pretty happy with the fit of the bodice toile, bar some minor adjustments I would make for the final dress such as shortening one strap by 0.5cm (0.25cm from the front and back strap) because I have one shoulder lower than the other!
Now the bit I was confident in was done, the next part felt much more ambiguous. I had a self-inflicted deadline to share the final toile with my Mum and my Maid of Honour by April (as a kind of wedding-dress-shopping-like experience), and so I needed to move on to the mammoth task of drafting the perfect skirt.
